Love It: Erin Condren Life Planner

It’s official… I’m OBSESSED with my Erin Condren Life Planner. Let me kick off this post by saying that I am in no way getting paid to review this planner… just sharing my love for it with the world! I spent the last few months of 2014 looking for a new way to stay organized in 2015. Historically, I’m a paper planner kind of girl… I’ve tried, but the digital stuff just doesn’t work for me. I had seen review after glowing review on the ECLP… people just gushing about it and my sister’s sister-in-law showed me hers. I was sold and decided to give it a go.

The Arrival

After what seems like the longest two or so weeks of my life, the planner finally showed up at my door. The box was beautiful and I’m pretty sure I heard angels singing when I opened it. There’s something to be said for pretty packaging!

The Box
The Box

Inside was all of the awesome stuff I ordered – the planner, coil clips (to clip stuff like invitations into the planner), note pads, bands to hold the planner closed, and a pen holder. It was amazing and absolutely beautiful!

The Opening of the Box

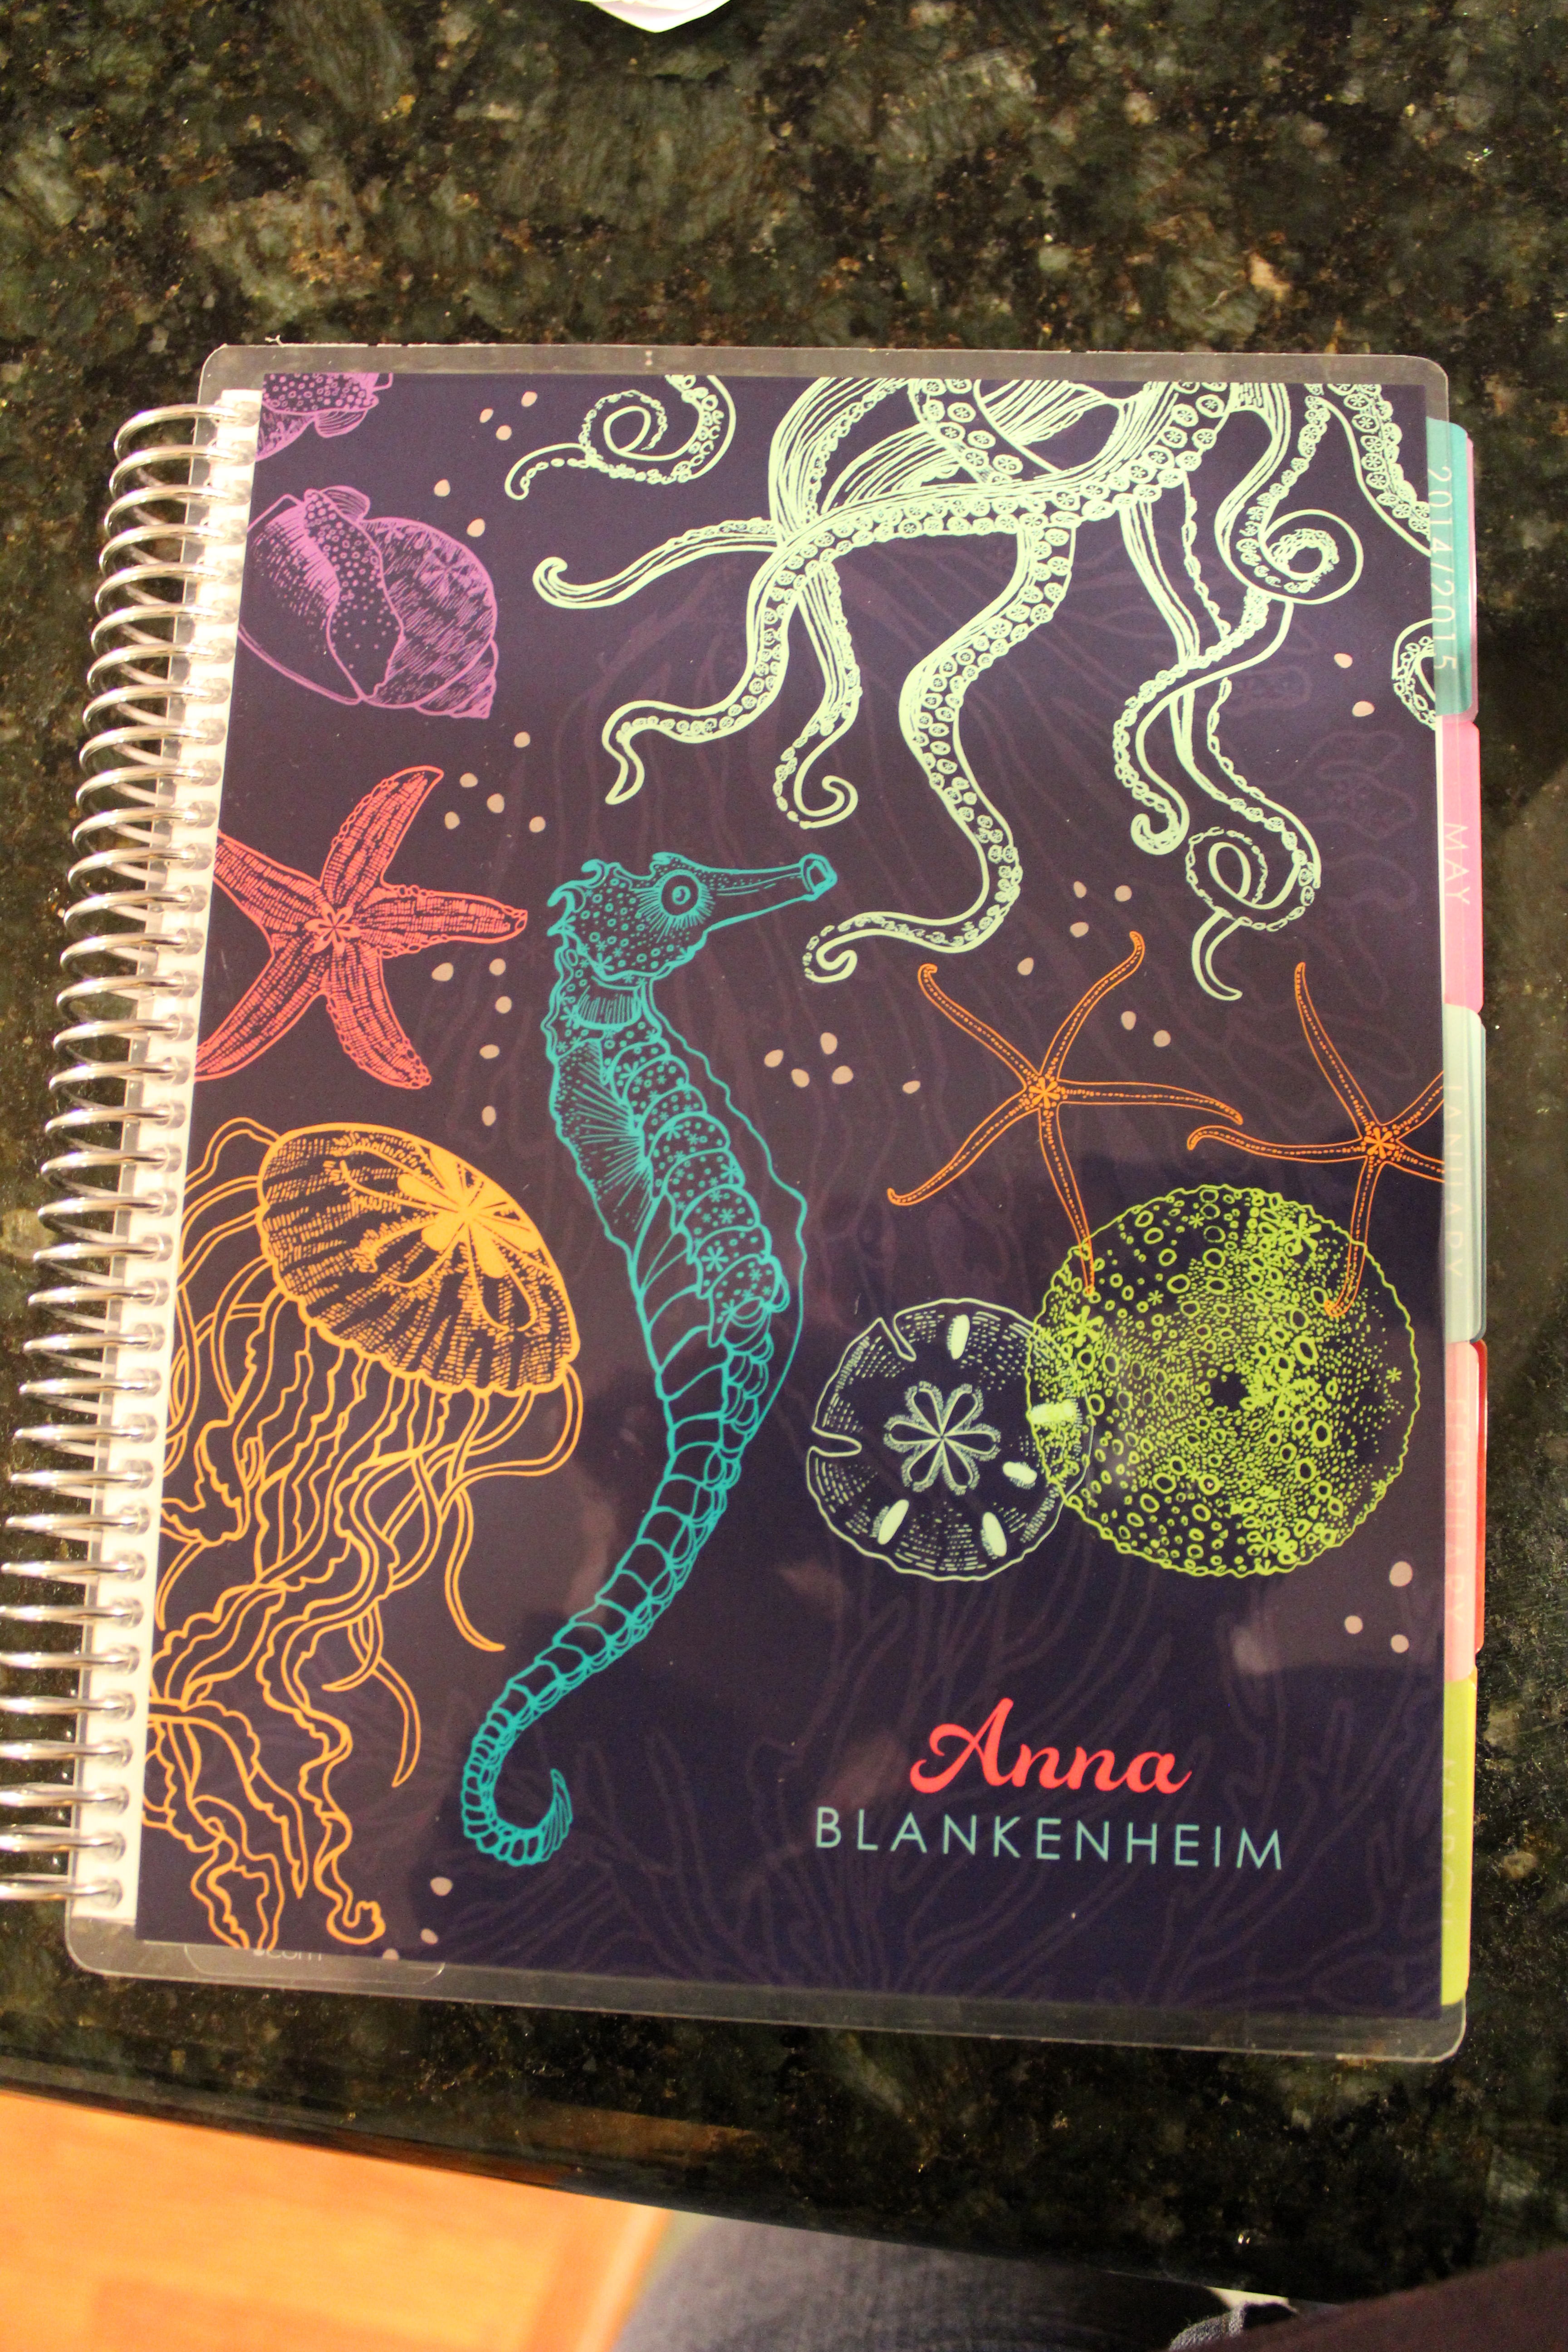
I chose the seahorse theme for this year and kept it pretty simple, adding only my name. My sister did a polka dot theme with her name on the front cover and picture of Chloe on the back. There are seriously a zillion options, all customizable, and to make things even better, the covers are removable and interchangeable!

My Planner!
My Planner!

The Accessories

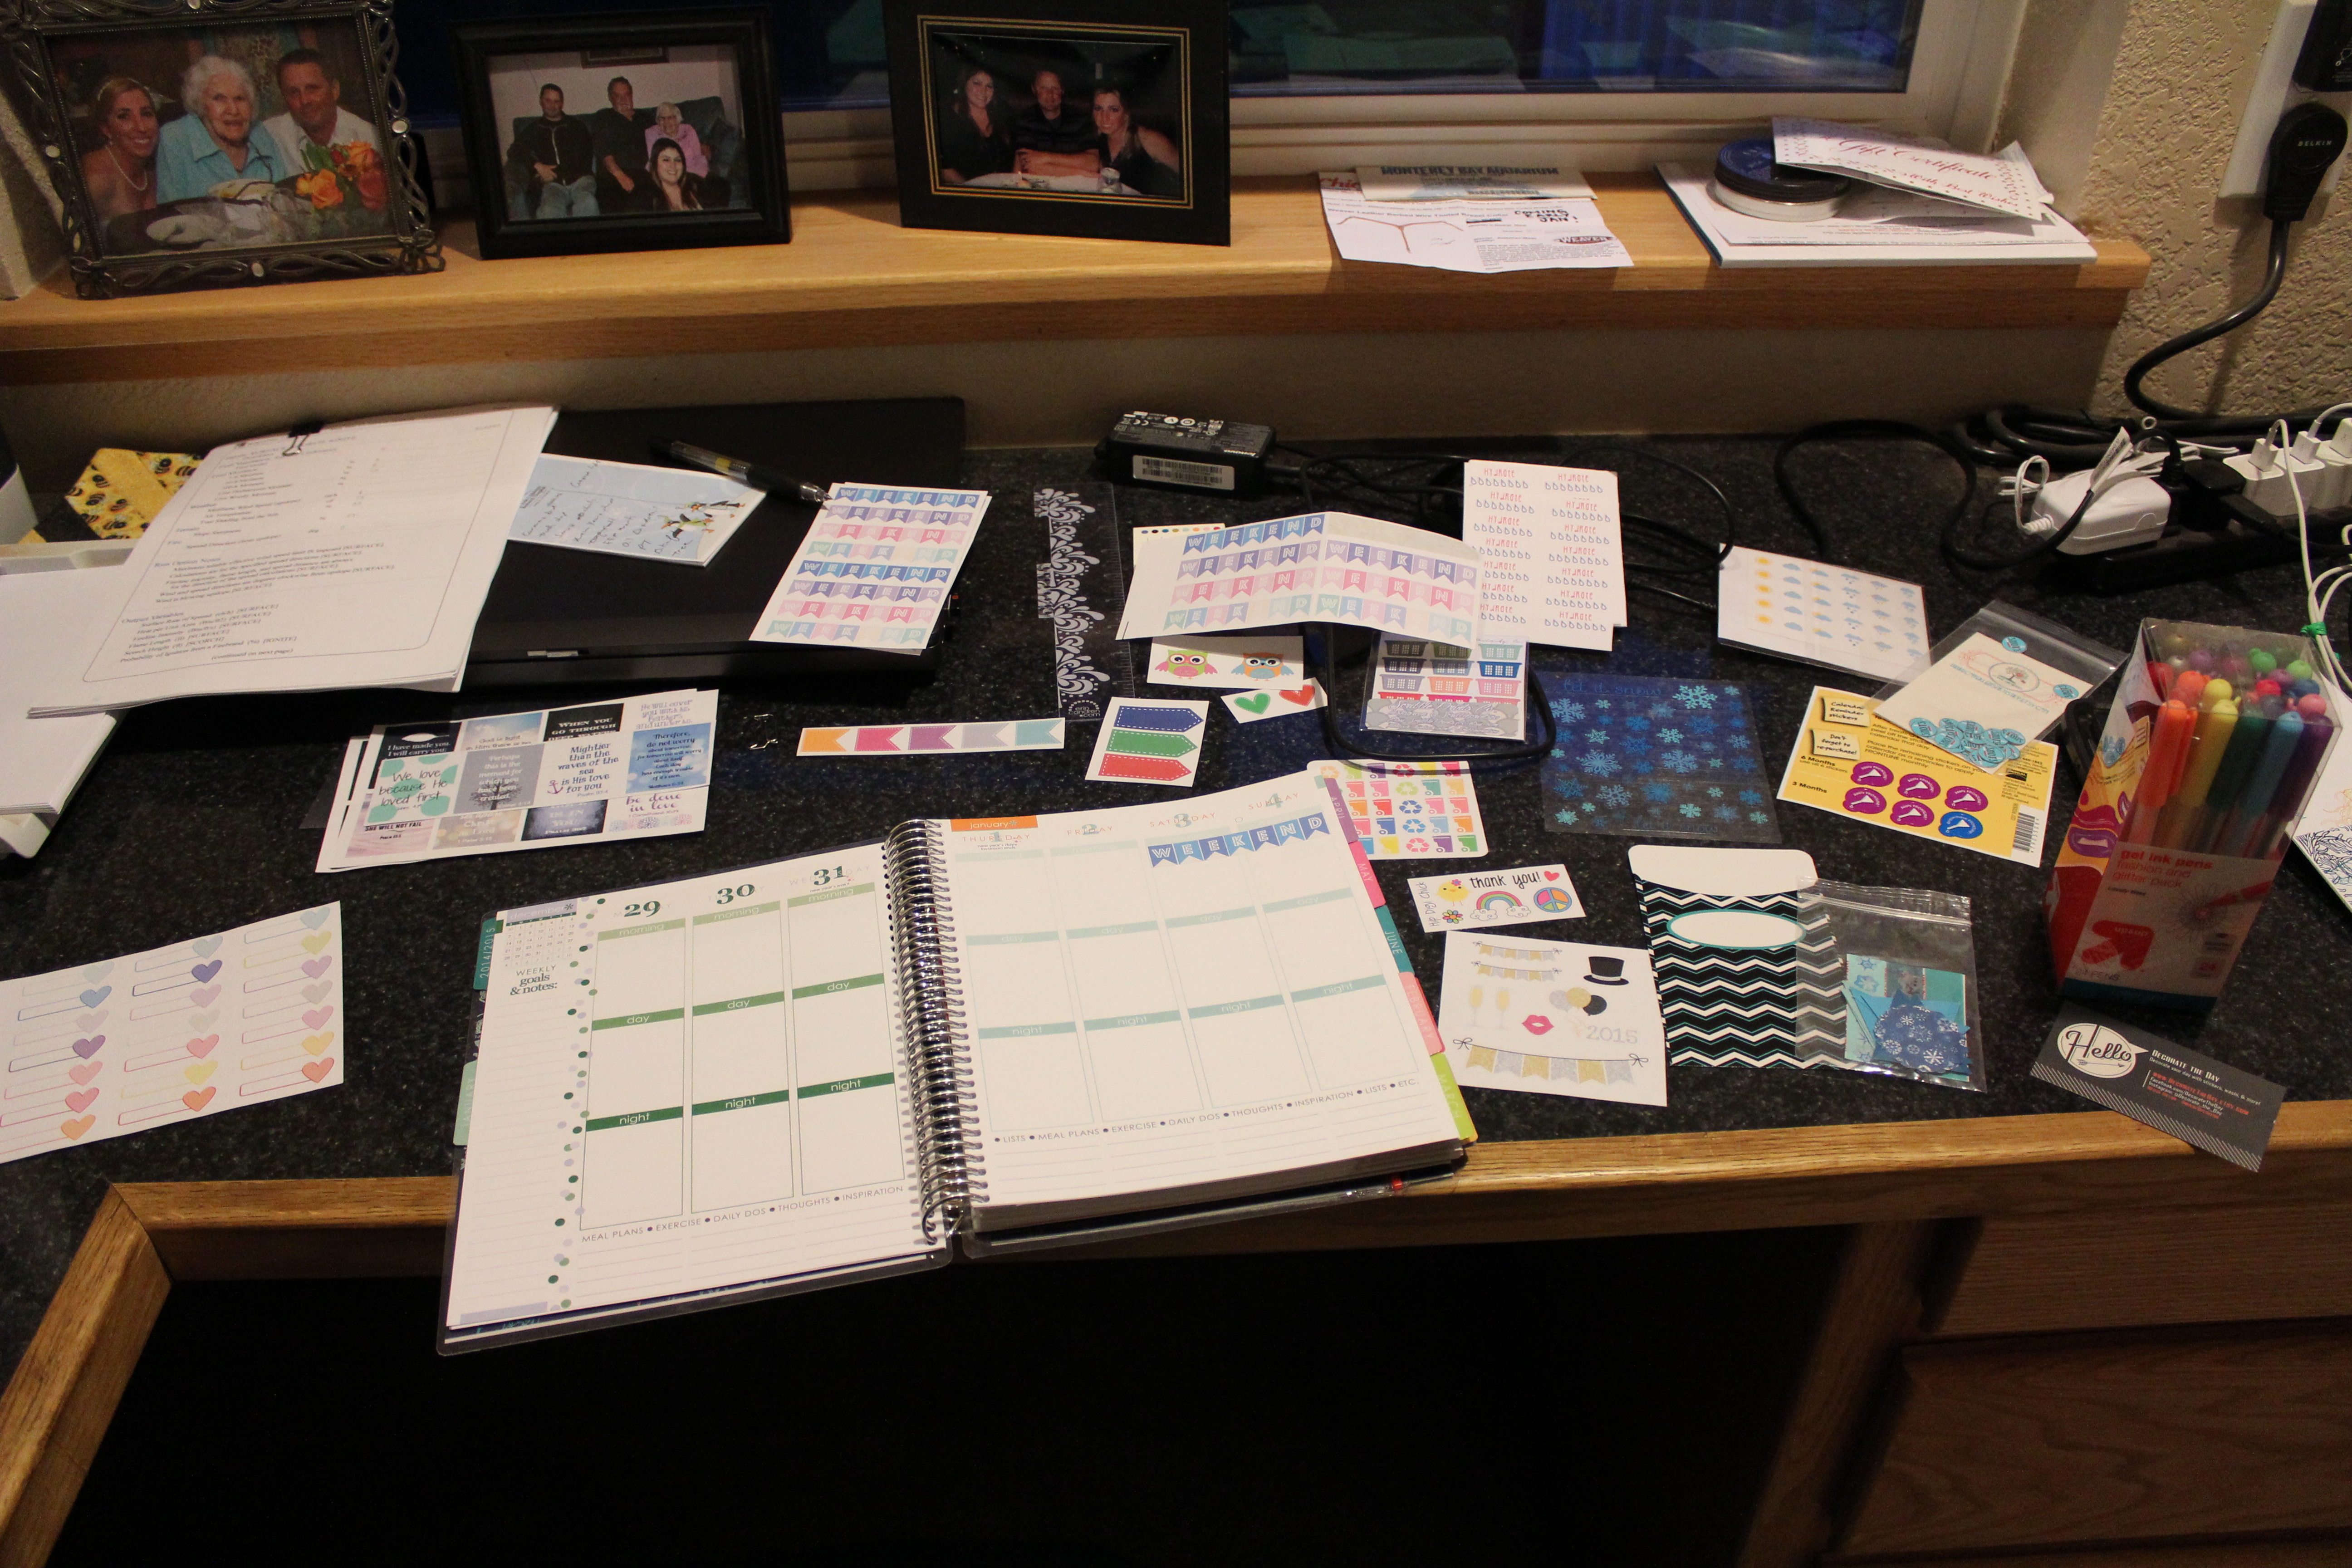
Here’s where the cost of the planner can really start to add up. Not only does the Erin Condren site itself offer accessories, but there’s a whole world of planner decoration stuff out there that I never knew existed. Washi tape, laundry stickers, running stickers, meal planning stickers, even riding lesson stickers! You name it, and someone on Etsy has created a sticker to represent it (or will custom make them!).

The Obsession Begins

The Planning

Planners are made for planning, right? Now that I’m two weeks in, I feel more than qualified to tell you about the usage (even though in my stalking studying of other planners on Instagram, Facebook, etc I’m learning there are so many things to track that I had never thought of!).

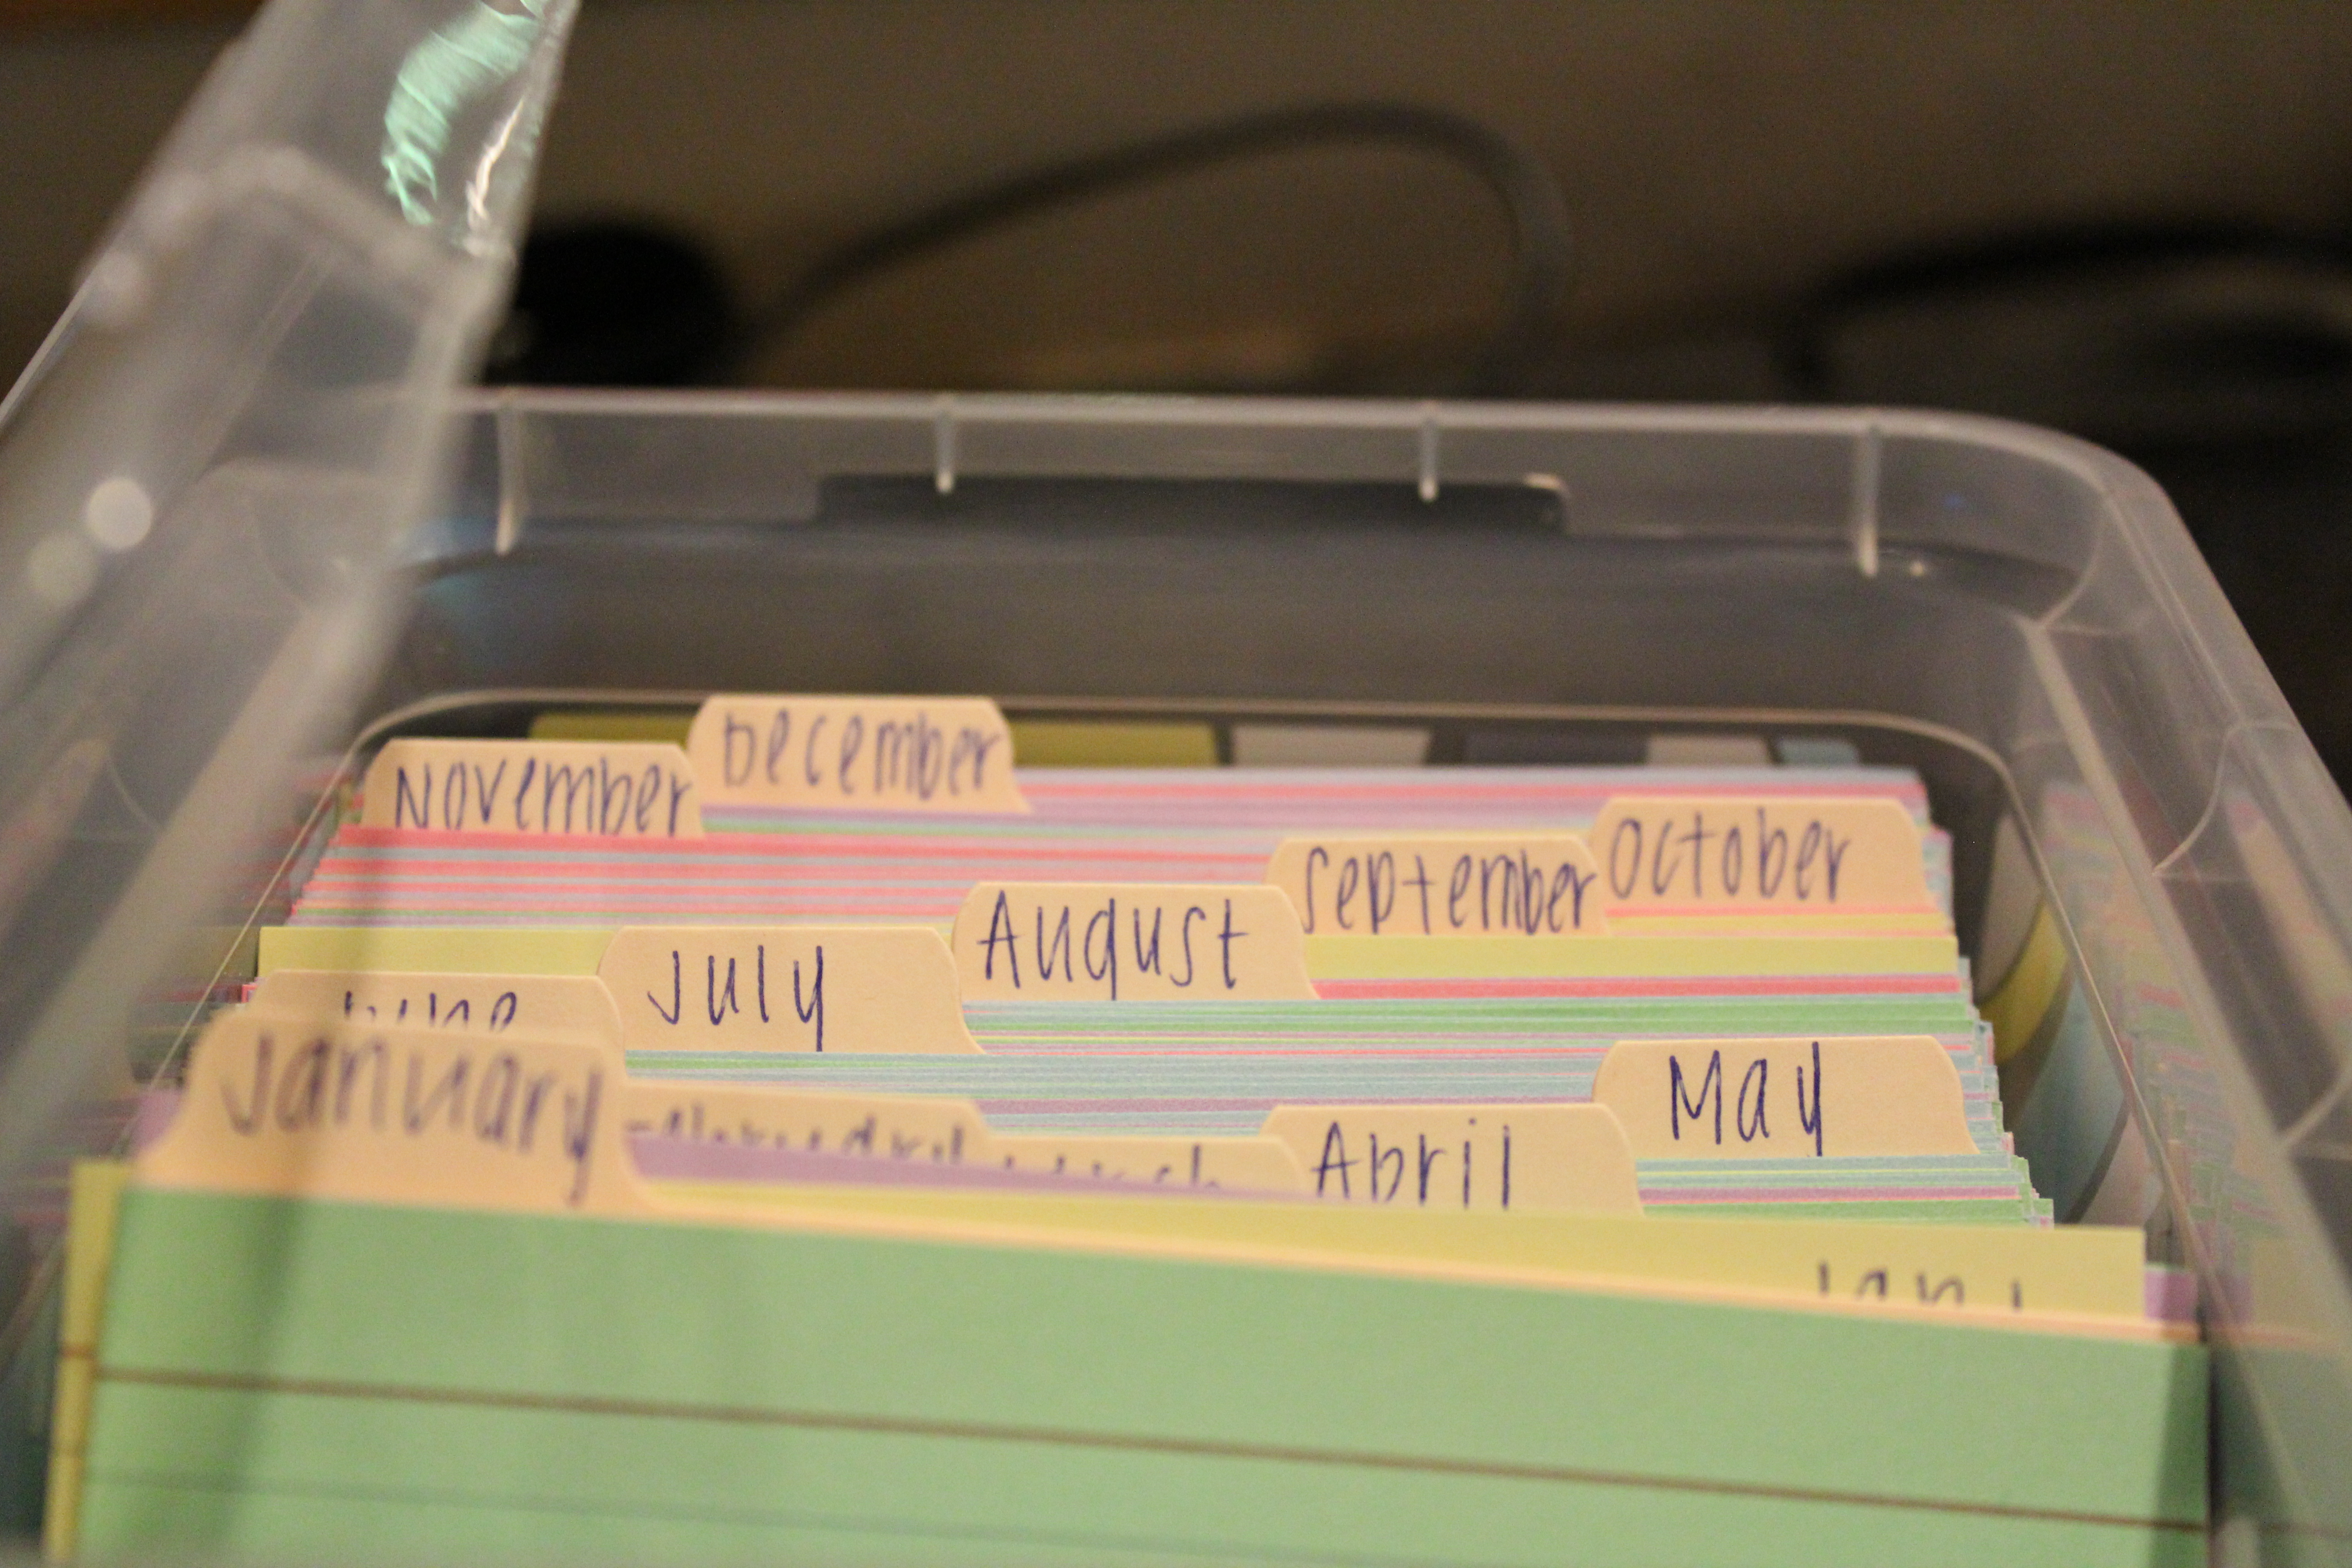
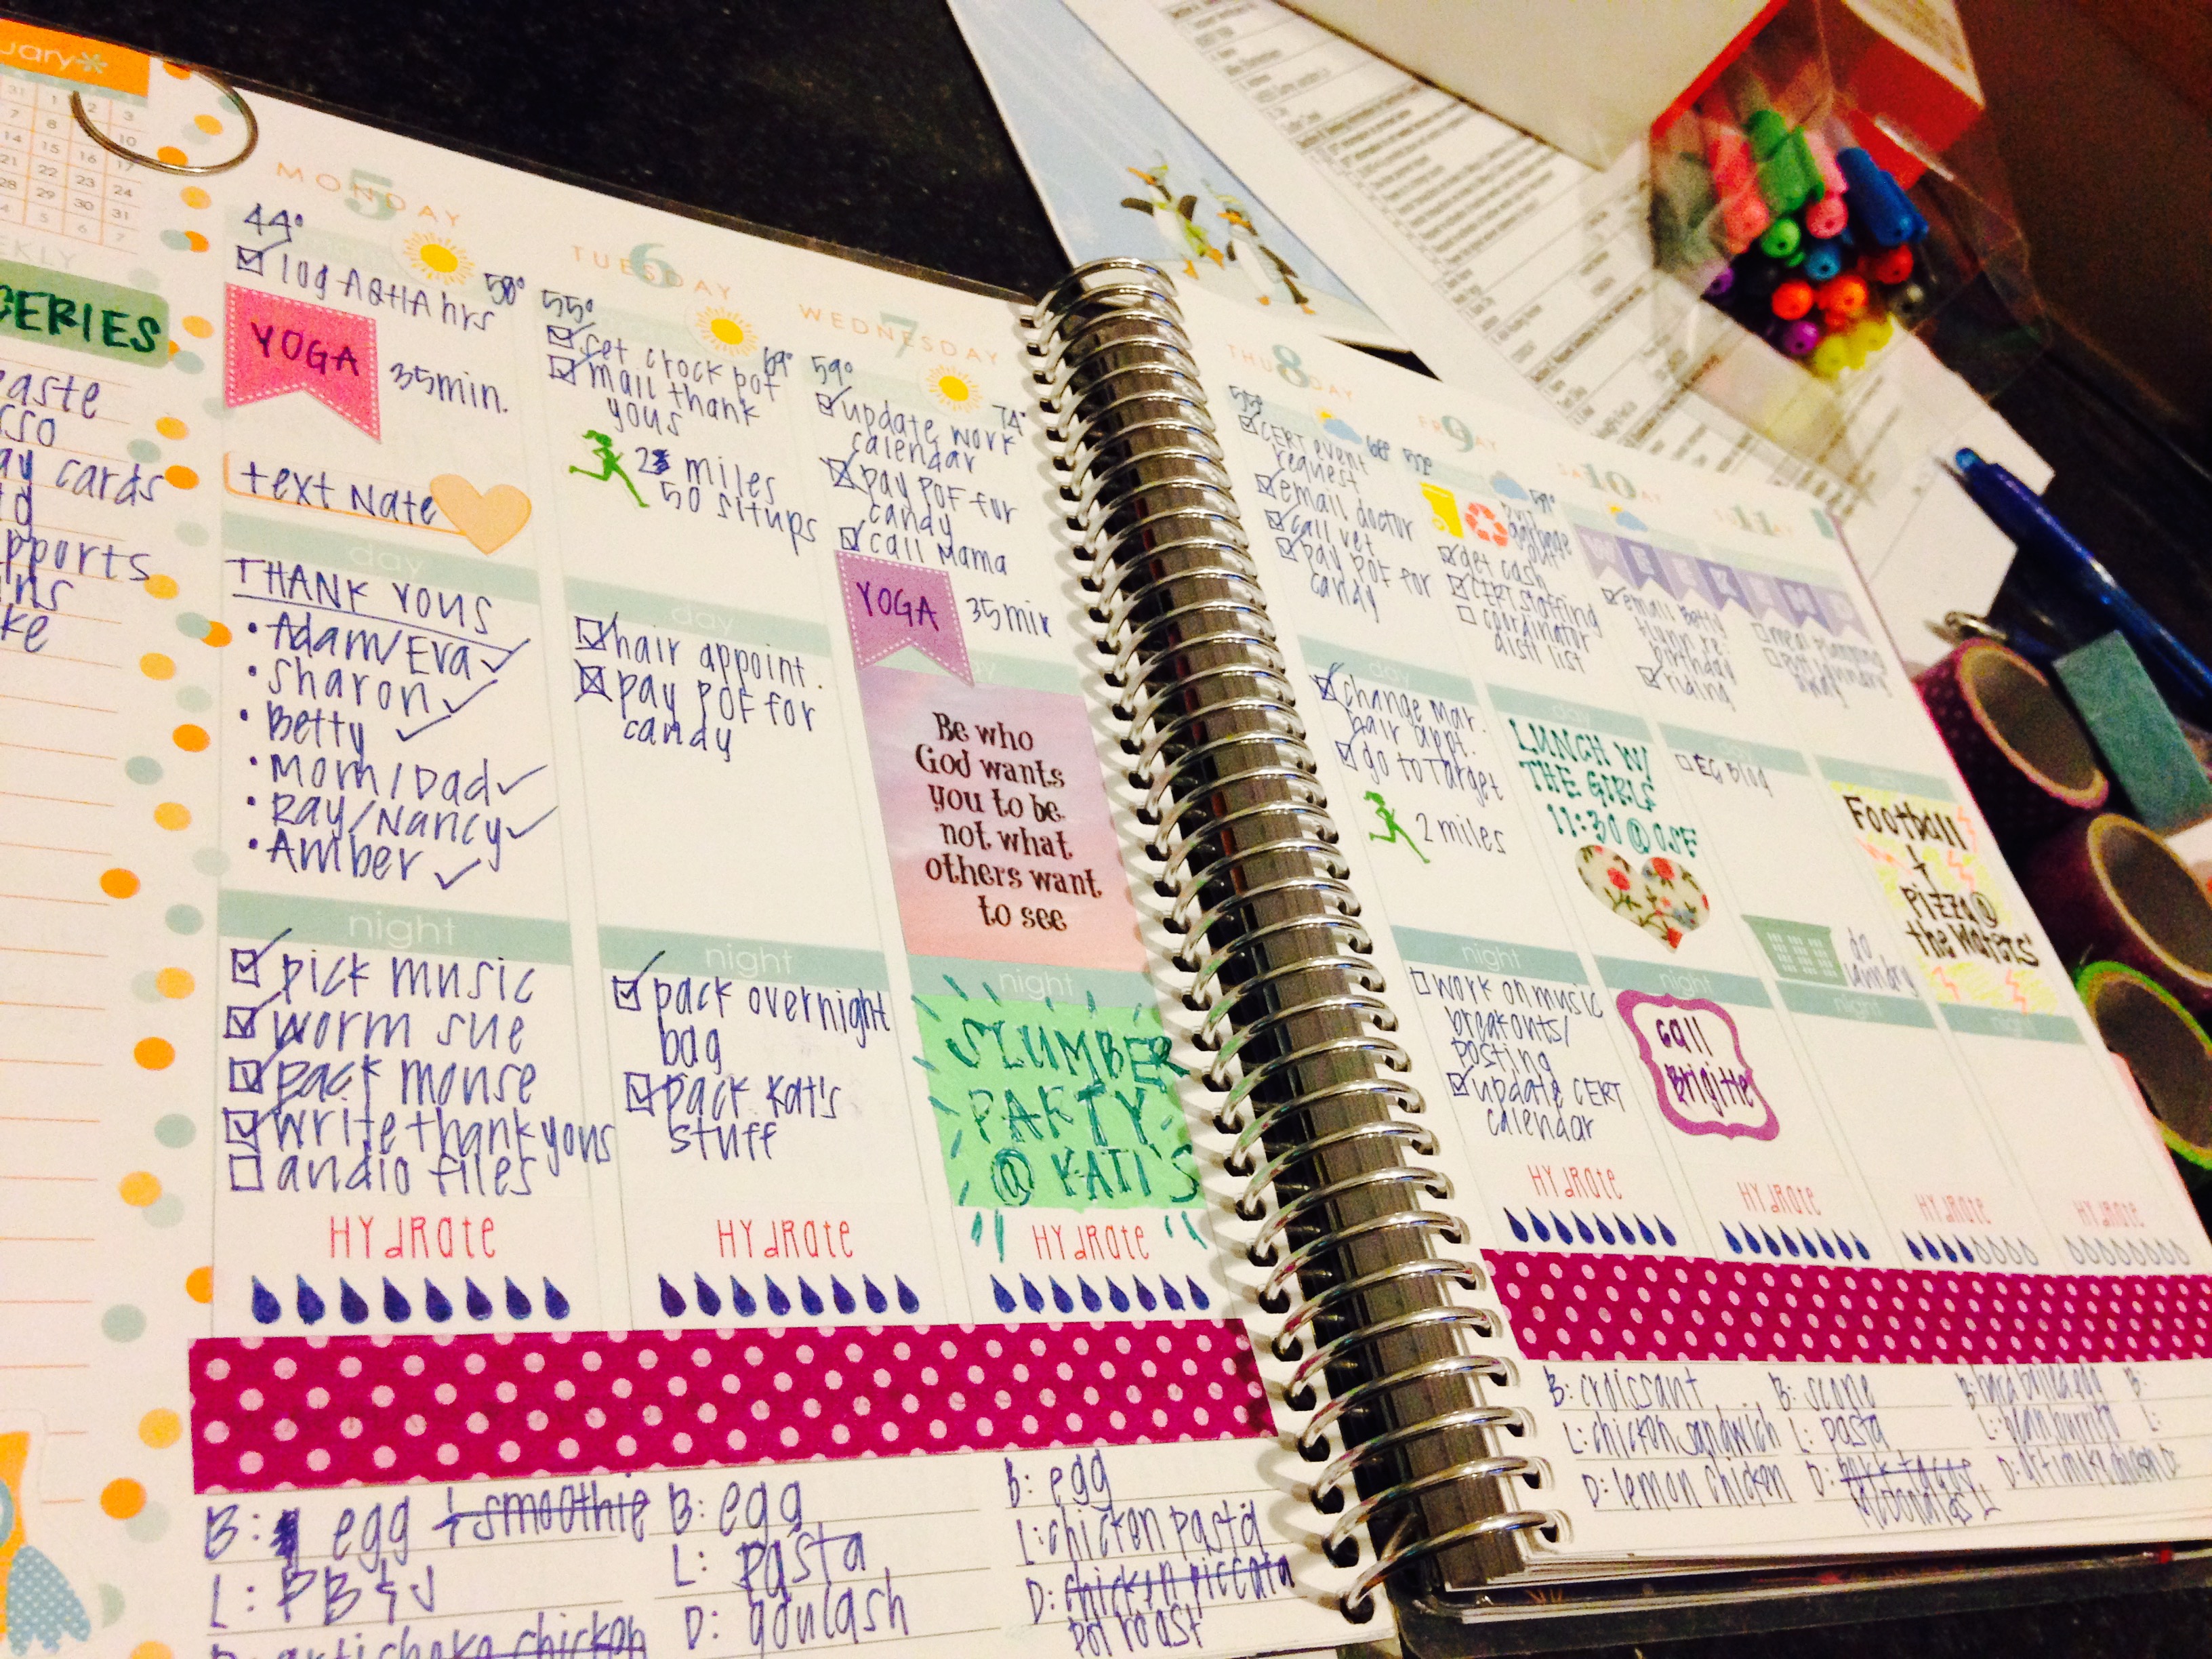
The thing that made me nervous about the ECLP was the weekly breakouts. I like my planners to have a monthly view (where I track appointments, lessons, commitments, etc) and a weekly layout (which I’ve used as a to do list). The ECLP layout breaks each of the weekly sections into “morning”, “day”, and “night”… something I wasn’t sure I was going to like. I’ve found it was pretty easy to get used to and, in fact, helped me focus on my daily tasks. The weekly portion is part to do list, part journal, part diary… it’s great!

Another thing I’ve done is made use of the back notes pages… so far I’m using three of them – one called “Sue’s Page” that tracks his worming, shoeing, and vaccines, one called “Random Acts of Kindness” that tracks people I will be sending love to throughout the year, and one called “Read, Watch, Listen” that tracks books I’d like to read, movies I want to see, and music I want to listen to. All decorated with washi tape and all sorts of fun colors.

Well, that’s about all I have to say about that. I definitely love this thing! I feel like I’ve sucked at decorating the first few weeks as I get my creative juices flowing… perhaps I’ll share some peeks once I get going! Ok, maybe ONE peek now:

Full Week!
Full Week!

If you’d like to order your own ECLP, click here for $10 off! I hope you enjoy yours as much as I do mine!

Weeknight Lemon Chicken Skillet Dinner

Ok, internet friends, this one is a good one. I found this recipe in my Cooking Light magazine (click here for the link to their site) and it was a hit. It takes just a little more than the 30 minutes that’s promised, but is quick, easy, and delicious! It was so pretty that I decided to share two pictures – one in the pan and one on the plate! I did leave out the mushrooms (I’m allergic) and only added two chicken breasts. This would definitely feed four people if you added the two extra chicken breasts. Enjoy!

In The Skillet
In The Skillet
On The Plate
On The Plate

Ingredients

12 ounces baby red potatoes, halved
1 tablespoon olive oil, divided
4 (6-ounce) skinless, boneless chicken breast halves, pounded to 3/4-inch thickness
3/4 teaspoon kosher salt, divided
1/2 teaspoon freshly ground black pepper, divided
2 thyme sprigs
4 ounces cremini mushrooms, quartered
1 tablespoon chopped fresh thyme
1/4 cup whole milk
5 teaspoons all-purpose flour
1 3/4 cups unsalted chicken stock (such as Swanson)
8 very thin lemon slices
1 (8-ounce) package trimmed haricots verts (French green beans)
2 tablespoons chopped fresh flat-leaf parsley

Directions

Preheat oven to 450°.

Place potatoes in a medium saucepan; cover with water. Bring to a boil, and simmer 12 minutes or until tender. Drain.

Heat a large ovenproof skillet over medium-high heat. Add 1 teaspoon oil to pan. Sprinkle chicken with 1/4 teaspoon salt and 1/4 teaspoon pepper. Add chicken and thyme sprigs to pan; cook 5 minutes or until chicken is browned. Turn chicken over. Place pan in oven; bake at 450° for 10 minutes or until chicken is done. Remove chicken from pan.

Return pan to medium-high heat. Add remaining 2 teaspoons oil. Add potatoes, cut sides down; mushrooms; and 1 tablespoon thyme; cook 3 minutes or until browned, stirring once. Combine milk and flour in a small bowl, stirring with a whisk. Add remaining salt, remaining pepper, flour mixture, stock, lemon, and beans to pan; simmer 1 minute or until slightly thickened. Add chicken; cover, reduce heat, and simmer 3 minutes or until beans are crisp-tender. Sprinkle with parsley.

Lighter Orange Chicken

I made this the other night for Mike and I… not only was it super easy, but it was delicious! I put juuuuuust a little too much Siracha in it… but other than that, it was amazing! Enjoy!

Lighter Orange Chicken

Ingredients

  • 1 1/2 lbs boneless skinless chicken breasts, diced into small 1-inch pieces
  • 1 1/2 Tbsp canola oil
  • Salt and freshly ground black pepper
  • 2 cloves garlic, minced
  • 2 tsp orange zest
  • 1/3 cup fresh orange juice
  • 1/4 cup + 2 tbsp low-sodium chicken broth
  • 3 Tbsp low-sodium soy sauce
  • 3 Tbsp honey
  • 2 1/2 Tbsp granulted sugar
  • 3/4 tsp onion powder
  • 1/4 tsp dried ginger
  • 2 Tbsp white vinegar
  • 1/2 tsp Sriracha hot sauce (optional)
  • 2 Tbsp cornstarch
  • Chopped green onions and sesame seeds, for serving

Directions

Heat a wok over moderately high heat. Add canola oil and once hot add chicken and season lightly with salt and pepper. Cook chicken, tossing occasionally, until it has cooked through, about 5 – 6 minutes. Transfer to a plate, leaving the little bit of remaining oil behind. Reduce burner to medium heat and return skillet to heat. Add garlic and saute 30 seconds. Remove from heat. Add in orange juice, 1/4 cup of the chicken broth, the orange zest, soy sauce, honey, sugar, onion powder, ginger, vinegar and Sriracha. Season with salt and pepper to taste and return to heat. In a small bowl stir together cornstarch with remaining 2 Tbsp chicken broth until well blended. Pour mixture into wok, cook and stir constantly until sauce bubbles and has thickened well. Remove from heat and toss chicken in sauce mixture.

Serve warm with white or brown rice and top with green onions and sesame seeds.

From: Cooking Classy

In Memoriam: Stuart Scott

This morning the sports world woke up to the sad news that Stuart Scott lost his seven year battle with cancer at the very, very young age of 49.

I was able to meet Stuart back in 2004 at Tiger Jam in Las Vegas. He was a really cool guy and my heart goes out to his wife and two little girls.

If you haven’t seen it, watch the video below… one of the most moving speeches I’ve heard in a long, long time.

Requiescat in pace, Stuart.

A Most Excellent Day

Today is my 34th birthday… I can’t believe how quickly time goes by! Wow, how old does that make me sound?!

As I’ve gotten older, I’ve learned how important spending time with the people I love is… and that’s what my whole day was about. I spent the morning with my awesome hubby getting our old truck sold, then headed out to go riding with my niece Katie. Her birthday was a while back and we’ve been waiting for good weather to go riding (that was our gift). Today was the big day… and it was a blast!

Katie & Missy
Katie & Missy
Katie & I Riding
Katie & I Riding

Finally, I ended the night with my CERT friends… the coordinator team met up for an end of year dinner at Chevy’s. They surprised me with the whole sombrero/singing thing (honestly surprised… the waiter slapped it on my head from behind and scared the crap out of me!) and it was great to just share a meal together.

Tomorrow the festivities continue (I always seem to have more of a birthday week!) with a pizza oven extravaganza, after I ride with my sister (because it’s not a good day if I don’t get to ride!). Life is pretty darned good… here’s to enjoying every minute between now and 35!

DIY Daily Calendar Journal

Instead of focusing on resolutions this year, I decided to try something a little different. I found the idea on Pinterest which led me to this site with a cute little tutorial. The idea is that you write the year and then a sentence (or phrase) about the day. Each year you add a line to the card and over time your perpetual calendar becomes almost a diary of sorts.

Mine is not nearly as fancy… and I didn’t use the printables… instead I used regular index cards (in fun colors, of course) and wrote the date on the top right corner of each one.

Here’s what my little box looks like:

Daily Calendar Journal

I found the containers at Staples (because I’m obsessed with that place) as well as the index cards and the dividers. I made a box for my mom, sister, and aunt. We’ve tossed around ideas such as using it as a God Box Project or a gratitude journal as well… I’m going to stick to the sentence about each day. I’m going to try to do it each night before bed and to be honest… if it’s a crummy day, then the sentence may reflect that. I’m a firm believer that everything is not always rainbows and sunshine and sometimes it’s therapeutic to get the not-so-good stuff documented. I’ll use it as sort of a “put the day to bed” moment.

Here’s to an amazing 2015! Stay tuned over the next few days… I’ll be posting a review of my new Erin Condren life planner! I can’t wait to share it!