The Chicken Chronicles: Building The Coop Day 2

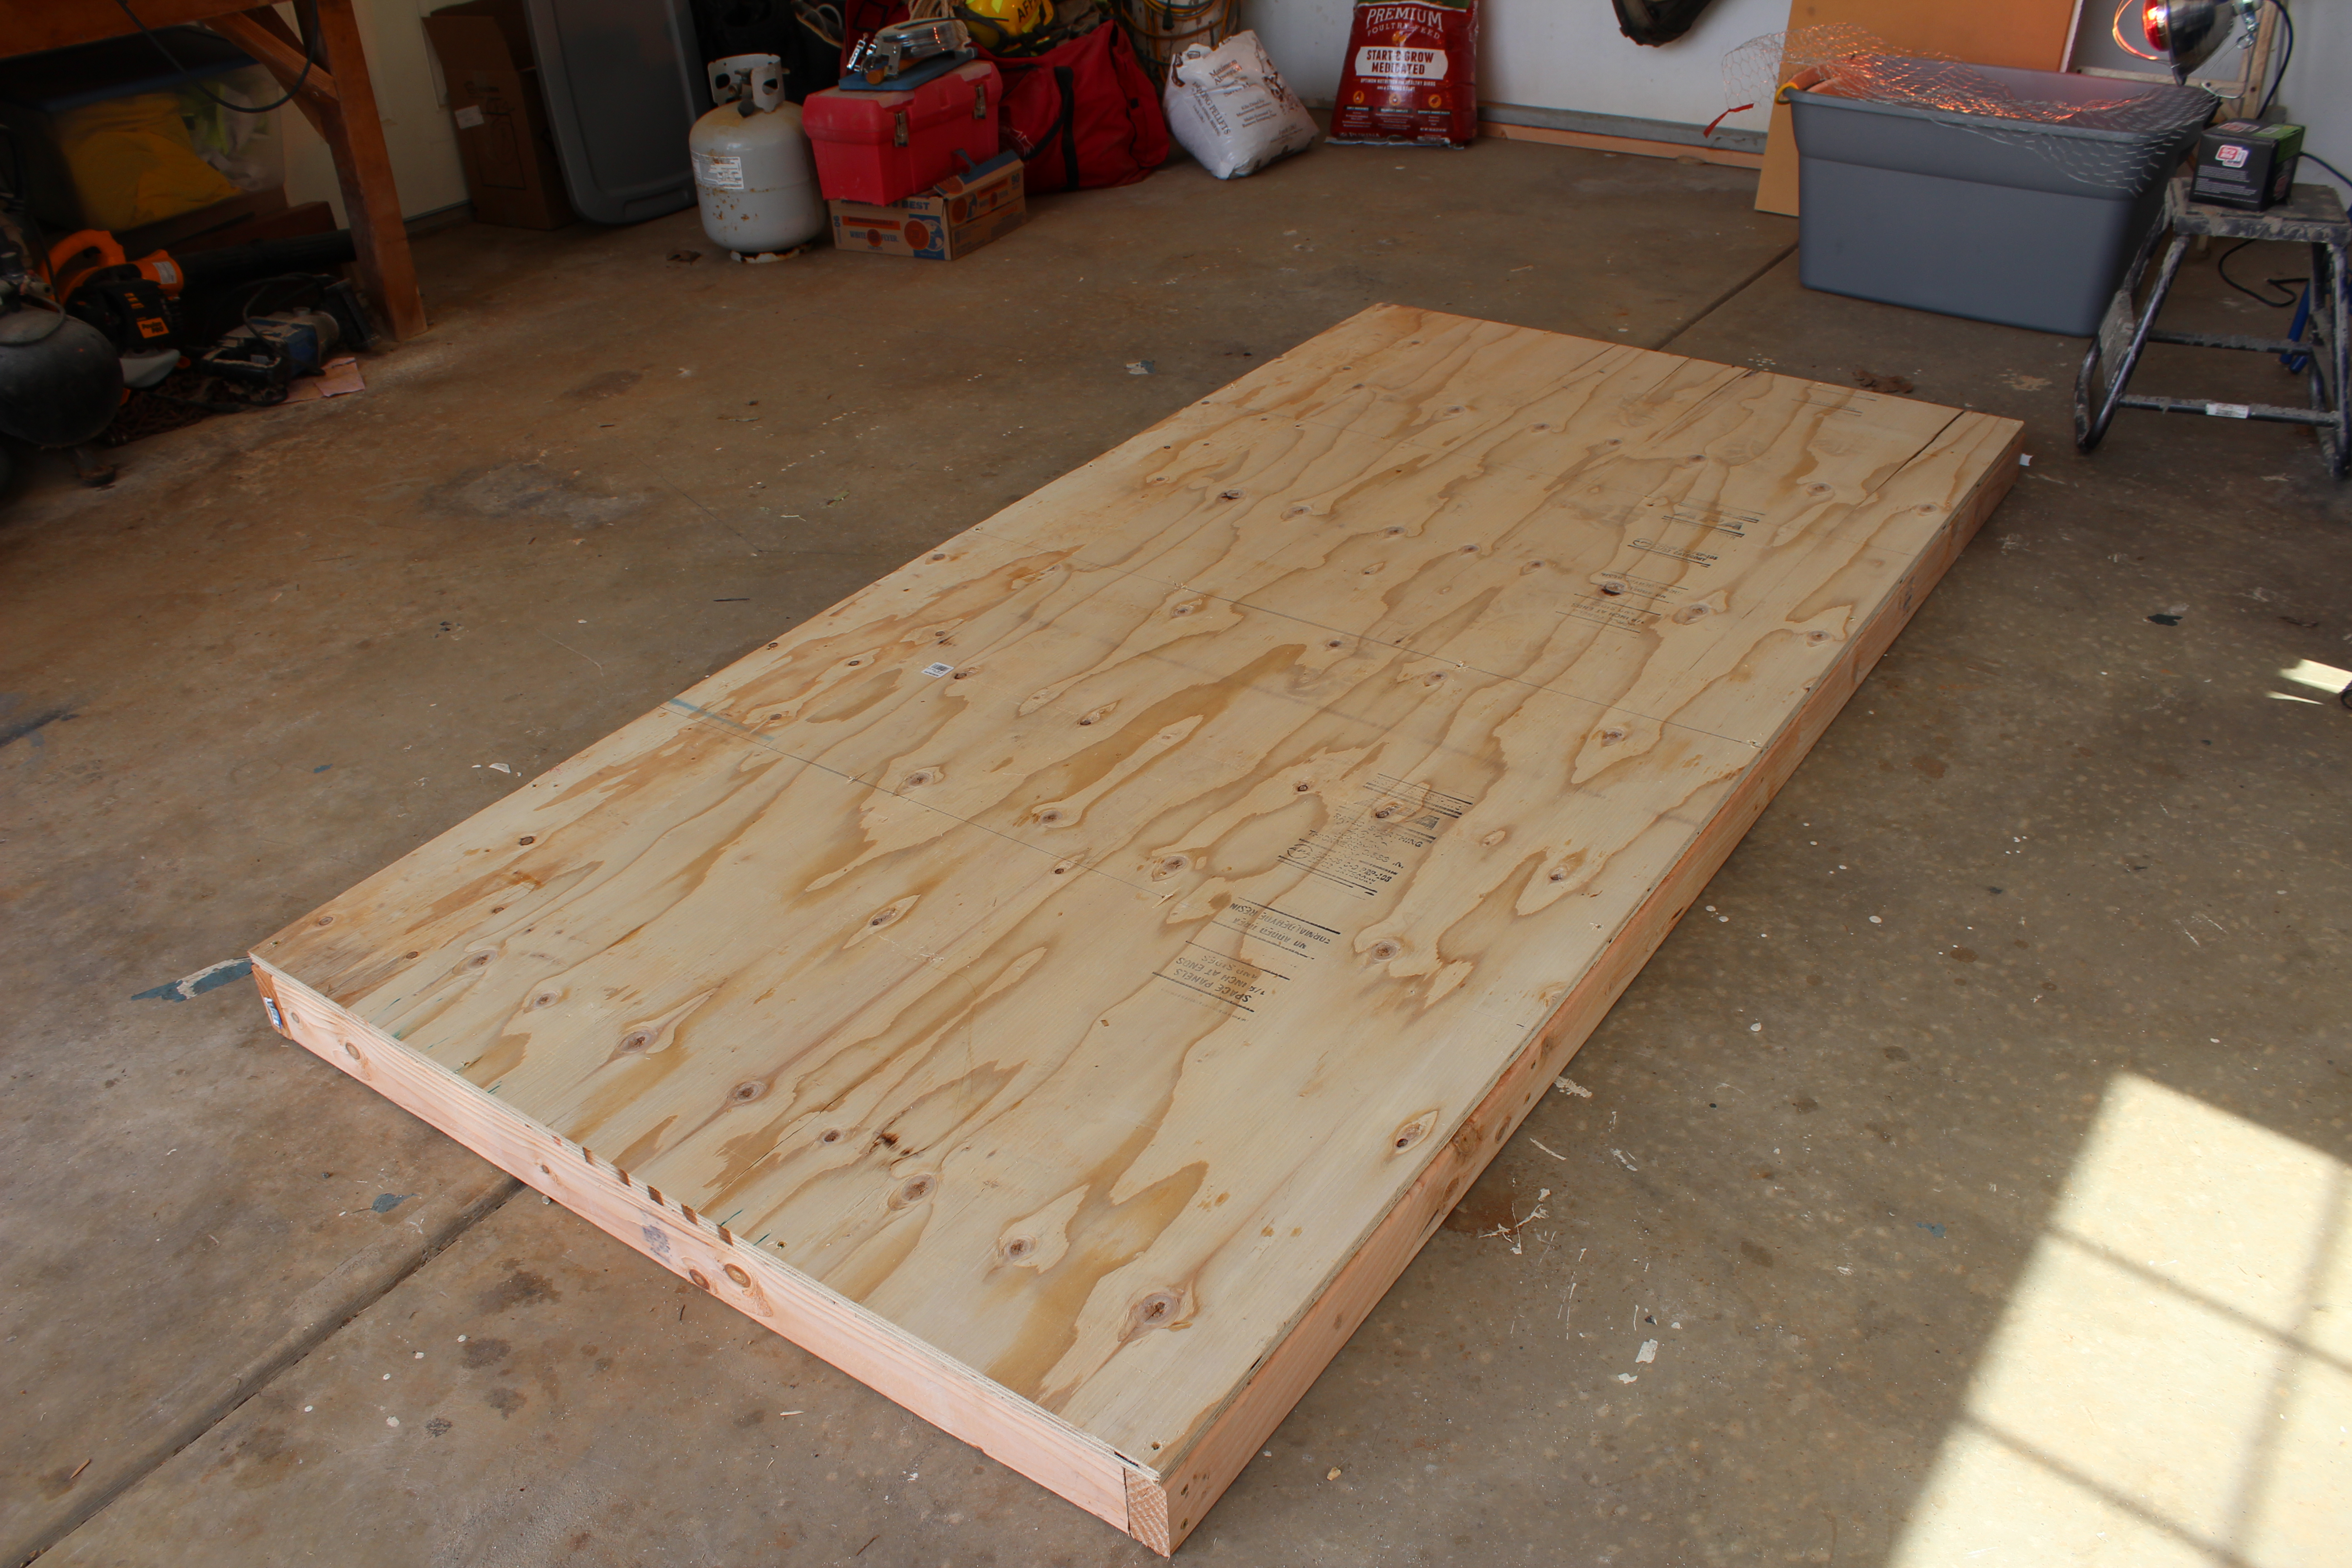
Today was day two of the chicken coop project… as the sun set I had one very smashed finger, two bruised knees, four strong walls, and a borrowed screw gun. My neighbor (who is a contractor) intervened when he heard me hammering angrily… mentioning that I might “have more fun” if I borrowed his screw gun. The man is an angel… it was definitely easier!

Today’s goal was to get the walls finished. The first wall I tackled was the hardest… the wall that would have the door for the people to get in and out of. There was just a lot of measuring and cutting.

The People Door Wall

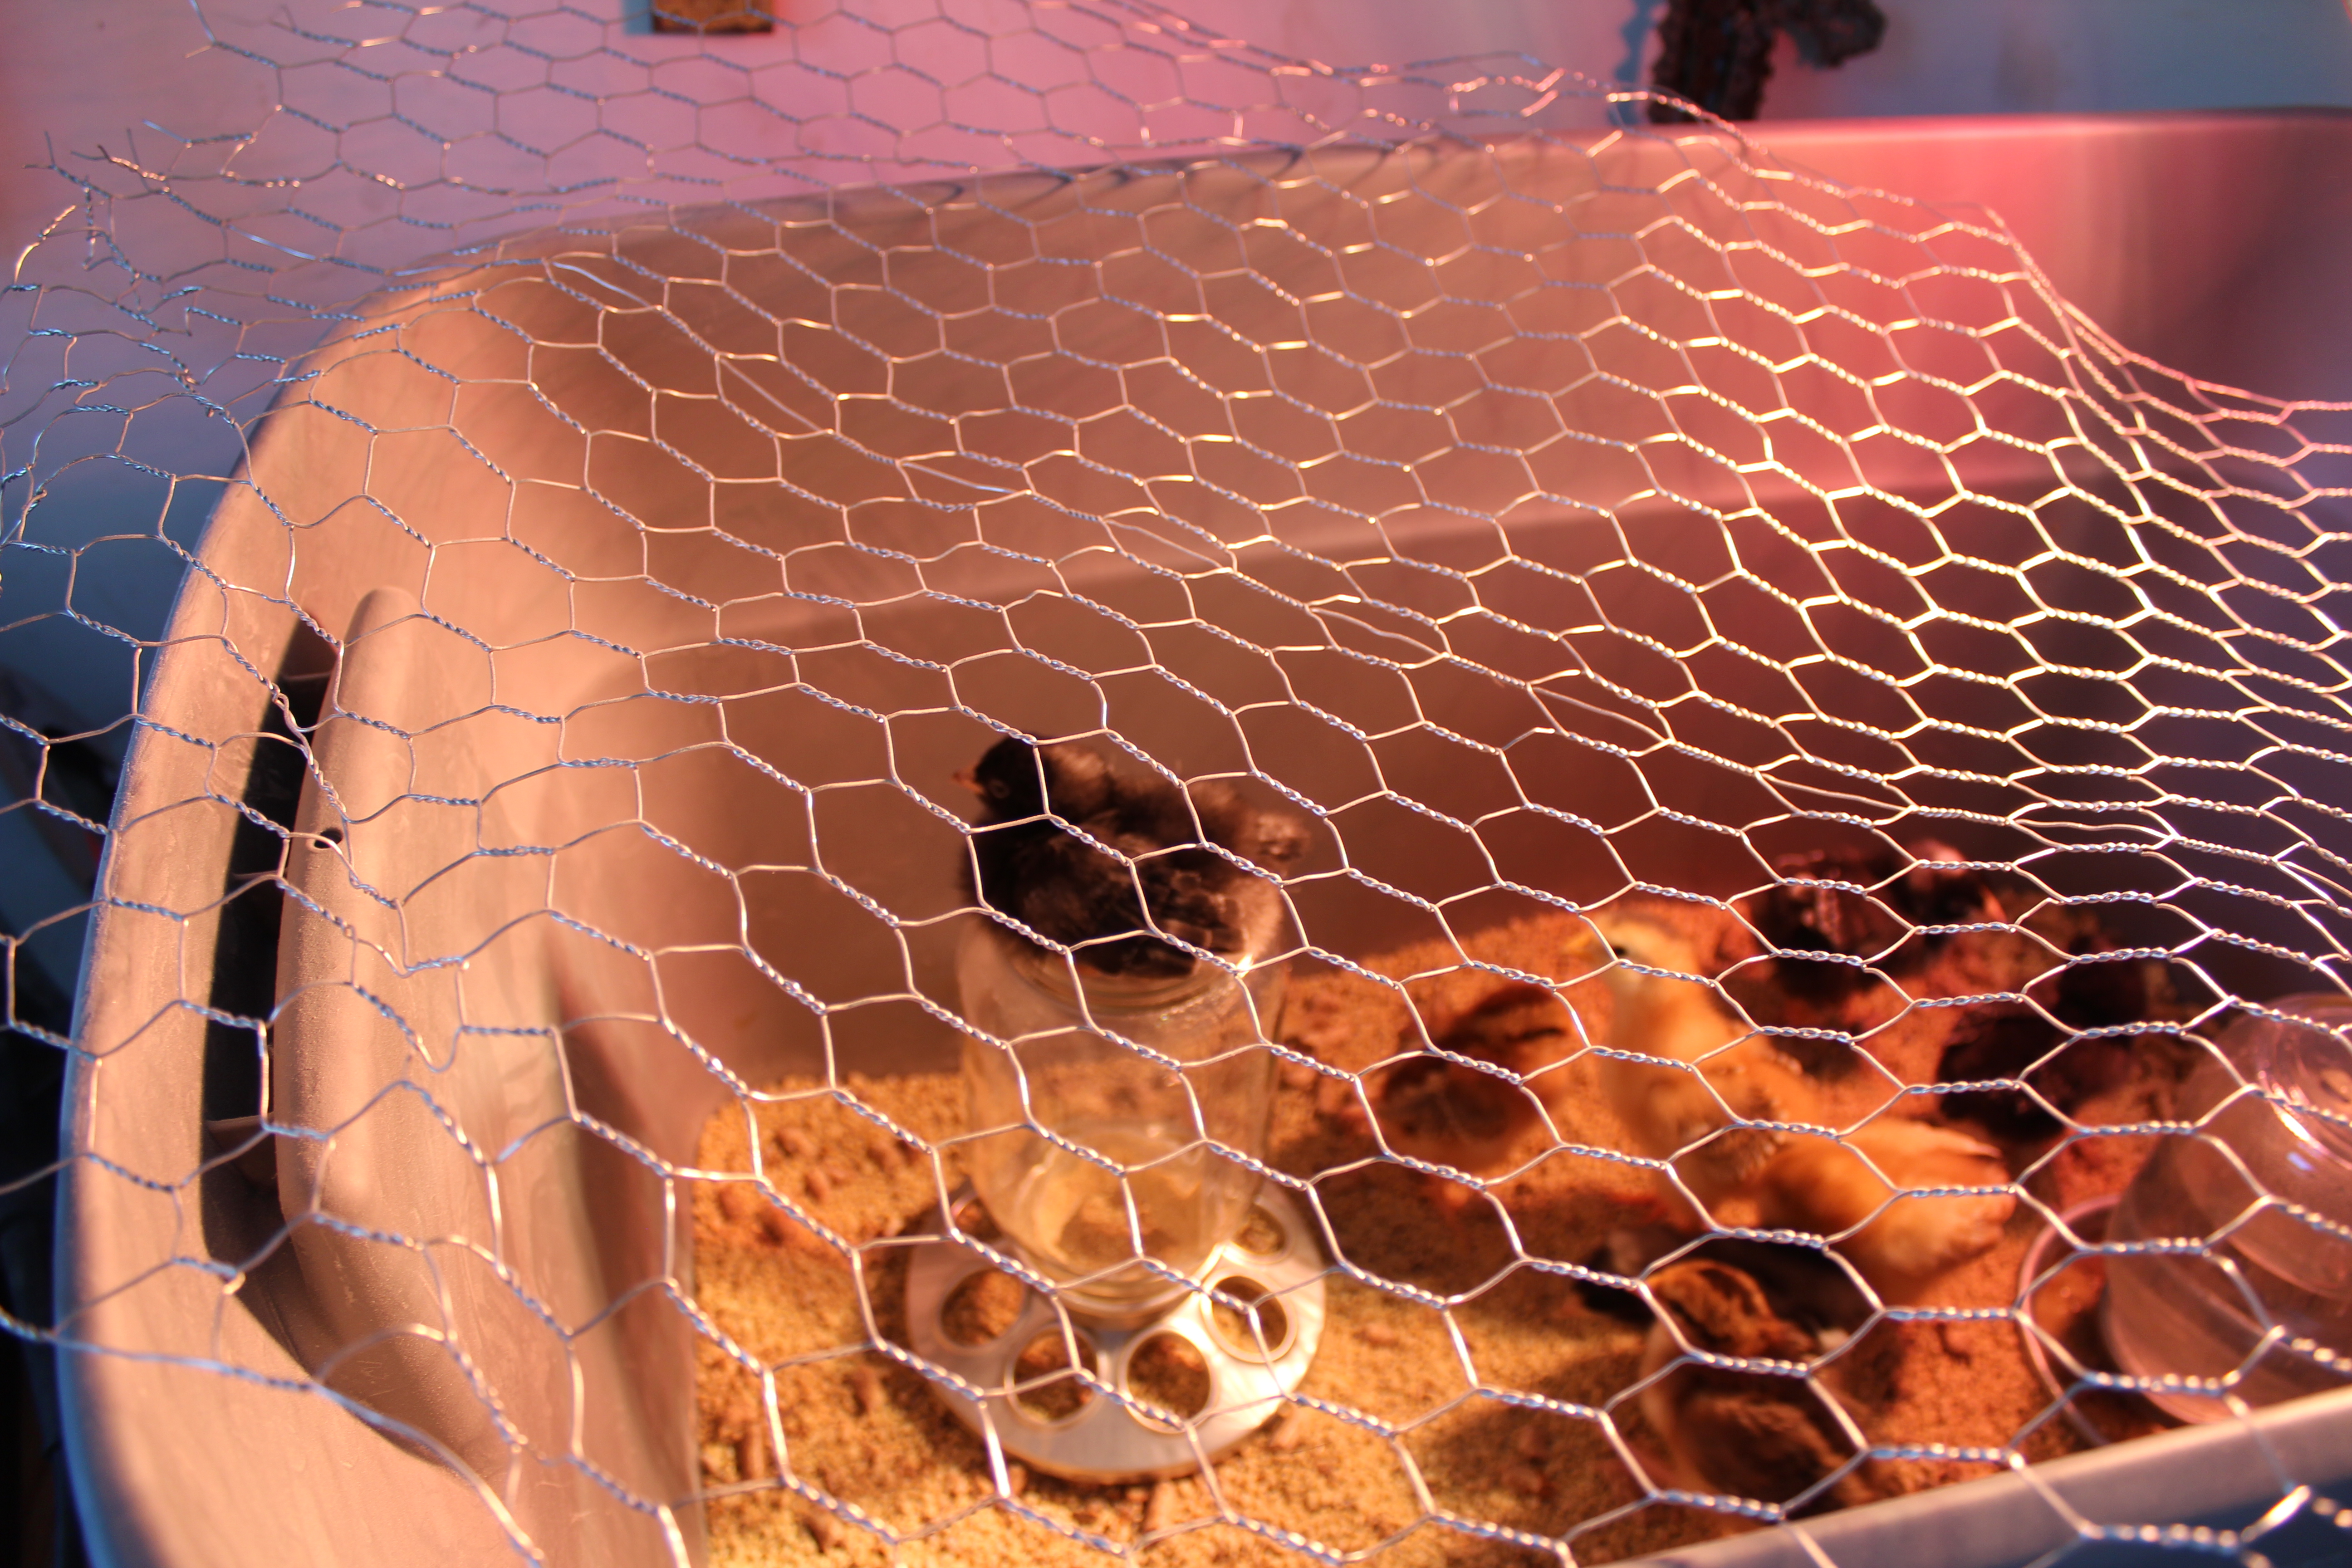
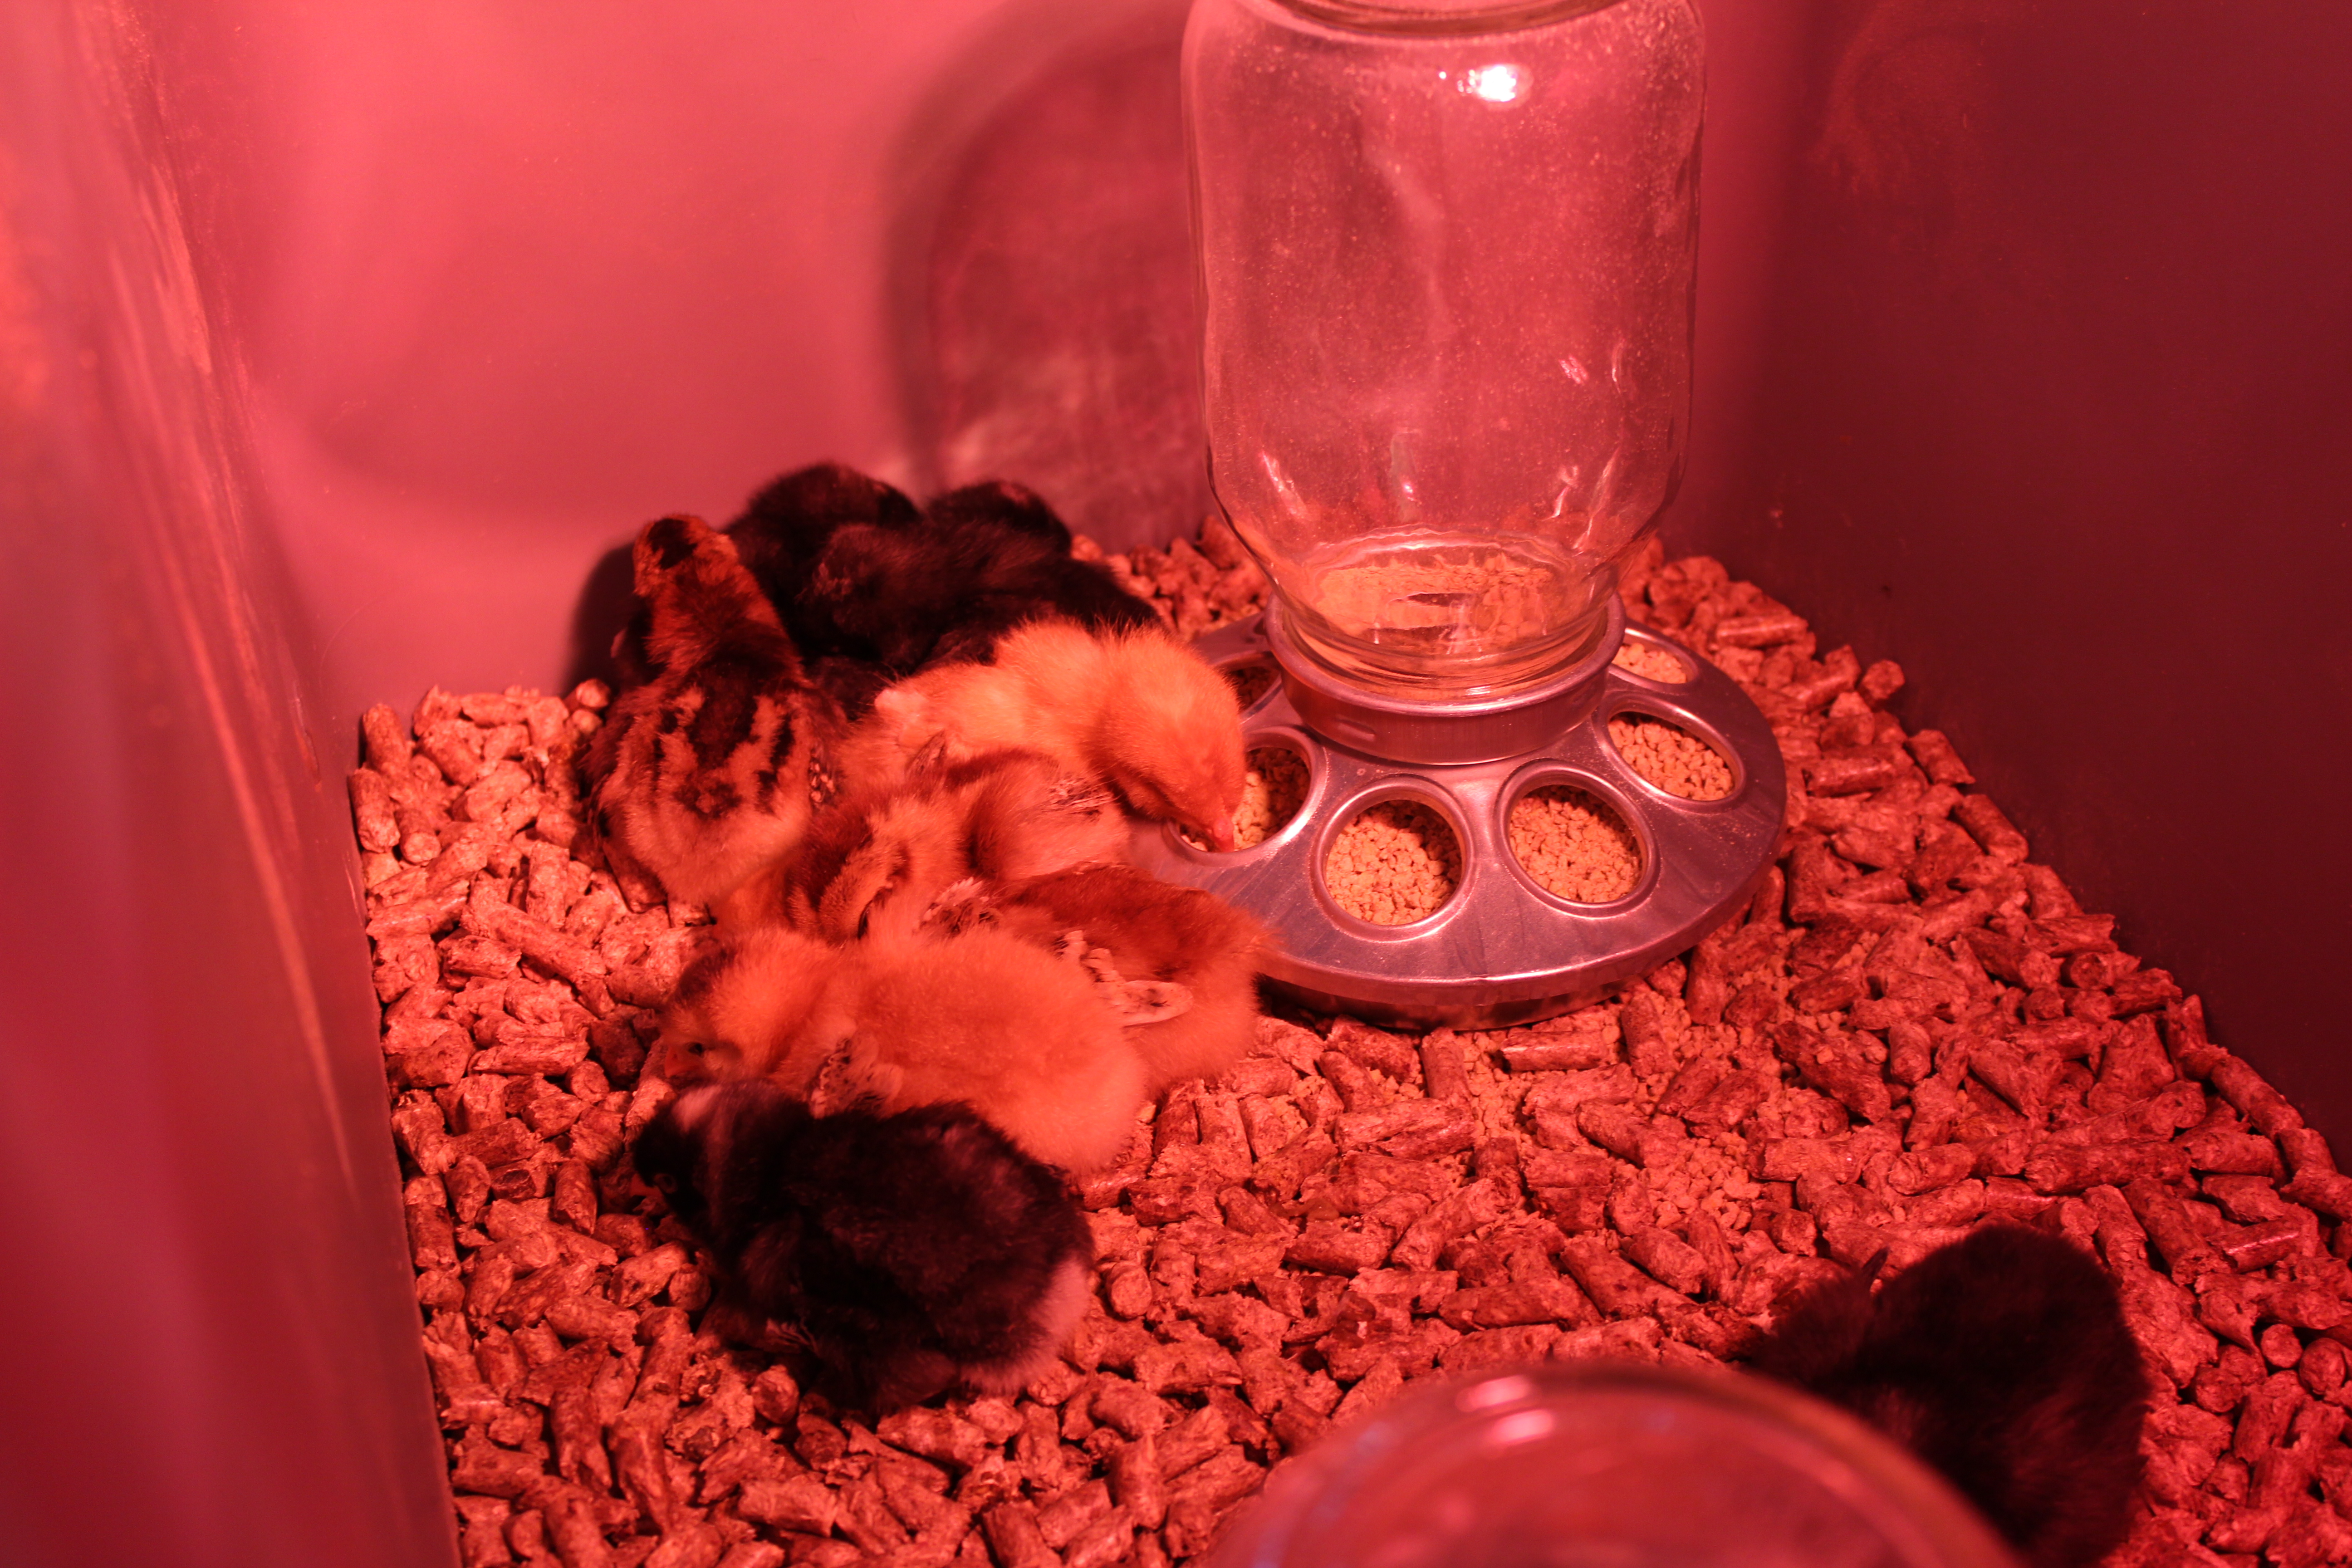
The next walls I tackled were the two side walls. Each of these will have a window, complete with shutters to keep the elements out. I’ve decided that I won’t be putting a glass window in… just screening it with hardware cloth and then adding functional shutters. Much of my chicken research has said that ventilation in coops is notoriously bad… people are so worried about their girls getting cold that they don’t provide a healthy respiratory environment. So, I’m counting on those feathers to do what they’re designed to do and I’ll use the shutters to keep the rain out.

The Side Walls
The Side Walls

And, the chicken door wall. This one is the one I’m most proud of. It looks deceivingly simple… but for someone with zero experience building things, I think I did a pretty good job. I had to Youtube how to cut at the 15 degree angle, but I got it! This will be connected to the run and will have the door the chickens will use to get in and out of the coop.

The Wall With The Chicken Door
The Angle
The Angle

That little lip is intentional… since the roof is designed to slope towards the chicken door, I’m going to put a little gutter on and get it to drain into a barrel… that way we’ll have reclaimed water for the garden!

Finally, the finger. I got frustrated with the screws (pre-neighbor intervention) and started using nails… was doing a great job (hammering hard) when the nail wobbled and I smacked my finger. I hate to say it, but I said some choice words that are not appropriate for use on Sundays. I dripped blood around the garage (now muttering those choice words because my finger went numb) and then went inside to wash it out. I slapped a band aid on and headed back out to dominate the nail. True hardcore carpenter style. I think I’m gonna make it through the night, but wouldn’t be surprised if I developed one of those really cool black finger nails.

Workman's Comp?
Workman’s Comp?

Next up… we attach the walls and get to work on the roof! I can’t wait for it to look like a real structure!

The Chicken Chronicles: Building The Coop Day 1

Today I started on my chicken coop. My husband was super cute… he came down “to make sure I got started and show me tips and tricks”. I think he wanted to help a bit… he ended up spending the afternoon with me. It was nice to work together!

First, I cut and framed the wood for the floor… then covered it in 3/4 inch plywood.

The Floor
The Floor

That was the easy part… then we drove it down to the orchard (where the coop will be) and started trying to figure out exactly how to get it seated on the piers… it took some digging, measuring, and leveling, but we eventually got it!

The Floor & Foundation

I know it doesn’t seem like much, but let me tell you, that was the hardest part of this whole project. It’s perfectly seated on the piers, is perfectly level, and is braced. That spaced underneath is intentional… it’s a place for the chickens to go to get shade or get out of the rain (if they want to be outside the coop). I am so happy!

Tomorrow… the walls!

While we were moving things around, I noticed how amazing my lavender looks right now:

Lavender Pathway
Lavender Pathway
Busy Bee
Busy Bee

I leave you with today’s chick pic… I have a chick who already likes to roost… she hopped right up on top of the feeder and settled in!

The One Who Roosts
The One Who Roosts

The Chicken Chronicles: Meet The Girls Part 2

Very good news from the Blankenheim homestead today… no one died. So, I’ll go ahead and name two more.

Blondie

Blondie
Blondie

Meet Blondie, my eight day old Gold Sex Link chicken (I think… it’s very hard to tell the Gold and Red Sex Link apart… especially since the other is now no longer with us for comparison). She’s a little bit shy, but once you get her in your hand, she likes to hang out! I love her pretty blonde feathers!

Stretch

Stretch
Stretch

Meet Stretch, my eight day old Rhode Island Red chicken. She is by far my favorite. I gave her the name Stretch because she’s always craning her neck to see over the other chicks. She comes over and will eat out of my hand. If I put my hand in the box, she’ll peck at the diamond in my ring. This little girl is most definitely the leader of the flock. AND, get this… she SINGS. It’s the most beautiful little sound. I love her!!!

Stretch Stretching Her Neck

The Chicken Chronicles: And Then There Were Nine

I knew naming them was a bad idea!

I came home today to find one of my chicks had died. I don’t know exactly what it was, but she was cold and had been gone for a while. Thankfully, it wasn’t a case of the other chicks pecking her to death… she must have been sick or weak or something.

I had planned on starting on the coop tonight but was a bit bummed and decided to save it for later this week.

Rest in peace Gold Chick #3!

The Chicken Chronicles: Meet the Girls Part 1

I’ve been hesitant to name the chicks thus far as I’ve heard from multiple people that bad things can happen to your chicks. According to Jason Price at Modern Farmer, “At least one of your chickens will die a horrible death”, via random disease, predator attack, or in his case, dog-he-was-pet-sitting-attack. If you know me, you know I get attached, and fast. So, for these first few days, I’ve tried to remain emotionally unattached, which I’m failing miserably at.

Without further ado, I introduce you to the first two chicks I’ve named.

Legs

Legs
Legs

Meet Legs, my six-day old Feather Legged Cuckoo Maran. She will eventually lose all of that black down and develop black and white speckled feathers. She’s a bit different than the Brown Cuckoo Maran you will meet later, in that she has feathered legs (hopefully you caught that already from the breed name). You can see them starting to grow in the picture. Thus, the name Legs. I can’t wait to see what she looks like when she gets older!

Chip 

Chip
Chip

Meet Chip, my six-day old Welsummer. Her full name is “Chipmunk” because she very much looks like a chipmunk when you look at her from the top down. She is very similar to the Speckled Sussex… in fact, I had to do some research to be able to tell them apart at this point. The key differentiation seems to be the legs… the Welsummer has pinkish legs while the Speckled Sussex has yellowish legs. You learn something new every day!

Chip From Above
Chip From Above

You’ll get to meet two more tomorrow!

The Chicken Chronicles Part 1

Over the past few years I’ve thought off and on about getting chickens. We live on a little over five acres and with the exception of the land right around the house, we let most of the property remain natural. We’ve got a good chunk fenced off for Shadow and another chunk fenced for my orchard. Every spring I’ve seen the sweet little chicks at the feed stores, but haven’t quite been ready to take the step. My sister went on Thursday to get some of her own… and it finally spurred me to get some of my own!

I ended up getting a variety of breeds and colors… some of them look very similar as chicks, but will look very different as adult hens. None of them will be meat birds… we’re just looking for eggs.

Speckled Sussex: a breed that is very adaptive and docile.

Speckled Sussex Chicken

Rhode Island Red: an American breed of chicken known for it’s egg laying and hardiness.

Rhode Island Red

Barred Rock: (also known as Plymouth Rock) a breed of chicken that originated in the United States and is a cold hardy bird. They lay a light brown egg that can have a hint of pink. I got two of these ones.

Barred Rock Chicken

Gold Sex Link: a breed of chicken whose color at hatching is differentiated by sex, which makes it very easy to tell a hen from a rooster.

Gold Sex Link Chicken

Brown Cuckoo Maran: a breed of chicken that originates from a western region of France, known for their dark brown eggs (and fine meat quality).

Brown Cuckoo Maran

Welsummer: a Dutch chicken breed from the small villiage of Welsum, known for being friendly and intelligent.

Welsummer Chicken

Feather Legged Cuckoo Maran: similar breed to the brown cuckoo maran, only these guys have feathers down their legs.

Feather Legged Cuckoo Maran

Red Sex Link: a redder version of the gold sex link (see above)

Red Sex Link Chicken

Dominique: considered America’s oldest chicken breed, known for their meat and brown eggs

Dominique Chicken

My little chicks look nothing like the pictures above. You have to use a red heat lamp because chickens are naturally cannibalistic and if for some reason one of them has any blood on it, they’ll peck it to death. The red light helps to hide anything that might trigger peckfest. That said, my garage looks like the red light district… and we have windows, so it shines outside.

The Red Light District

Here are the ladies (well, hopefully all ladies) without the red glow. They were a little agitated because they had been taking a nap and I woke them up.

Meet The Ladies!
Meet The Ladies!

I decided that I am going to build my own coop… I have about a month before they are ready to leave their box and I have picked out a section of the orchard (that way we have double fencing) that I think would be perfect. I want to build a functional coop with a HUGE run. I can’t wait!!!

Weeknight Lemon Chicken Skillet Dinner

Ok, internet friends, this one is a good one. I found this recipe in my Cooking Light magazine (click here for the link to their site) and it was a hit. It takes just a little more than the 30 minutes that’s promised, but is quick, easy, and delicious! It was so pretty that I decided to share two pictures – one in the pan and one on the plate! I did leave out the mushrooms (I’m allergic) and only added two chicken breasts. This would definitely feed four people if you added the two extra chicken breasts. Enjoy!

In The Skillet
In The Skillet
On The Plate
On The Plate

Ingredients

12 ounces baby red potatoes, halved
1 tablespoon olive oil, divided
4 (6-ounce) skinless, boneless chicken breast halves, pounded to 3/4-inch thickness
3/4 teaspoon kosher salt, divided
1/2 teaspoon freshly ground black pepper, divided
2 thyme sprigs
4 ounces cremini mushrooms, quartered
1 tablespoon chopped fresh thyme
1/4 cup whole milk
5 teaspoons all-purpose flour
1 3/4 cups unsalted chicken stock (such as Swanson)
8 very thin lemon slices
1 (8-ounce) package trimmed haricots verts (French green beans)
2 tablespoons chopped fresh flat-leaf parsley

Directions

Preheat oven to 450°.

Place potatoes in a medium saucepan; cover with water. Bring to a boil, and simmer 12 minutes or until tender. Drain.

Heat a large ovenproof skillet over medium-high heat. Add 1 teaspoon oil to pan. Sprinkle chicken with 1/4 teaspoon salt and 1/4 teaspoon pepper. Add chicken and thyme sprigs to pan; cook 5 minutes or until chicken is browned. Turn chicken over. Place pan in oven; bake at 450° for 10 minutes or until chicken is done. Remove chicken from pan.

Return pan to medium-high heat. Add remaining 2 teaspoons oil. Add potatoes, cut sides down; mushrooms; and 1 tablespoon thyme; cook 3 minutes or until browned, stirring once. Combine milk and flour in a small bowl, stirring with a whisk. Add remaining salt, remaining pepper, flour mixture, stock, lemon, and beans to pan; simmer 1 minute or until slightly thickened. Add chicken; cover, reduce heat, and simmer 3 minutes or until beans are crisp-tender. Sprinkle with parsley.

Lighter Orange Chicken

I made this the other night for Mike and I… not only was it super easy, but it was delicious! I put juuuuuust a little too much Siracha in it… but other than that, it was amazing! Enjoy!

Lighter Orange Chicken

Ingredients

  • 1 1/2 lbs boneless skinless chicken breasts, diced into small 1-inch pieces
  • 1 1/2 Tbsp canola oil
  • Salt and freshly ground black pepper
  • 2 cloves garlic, minced
  • 2 tsp orange zest
  • 1/3 cup fresh orange juice
  • 1/4 cup + 2 tbsp low-sodium chicken broth
  • 3 Tbsp low-sodium soy sauce
  • 3 Tbsp honey
  • 2 1/2 Tbsp granulted sugar
  • 3/4 tsp onion powder
  • 1/4 tsp dried ginger
  • 2 Tbsp white vinegar
  • 1/2 tsp Sriracha hot sauce (optional)
  • 2 Tbsp cornstarch
  • Chopped green onions and sesame seeds, for serving

Directions

Heat a wok over moderately high heat. Add canola oil and once hot add chicken and season lightly with salt and pepper. Cook chicken, tossing occasionally, until it has cooked through, about 5 – 6 minutes. Transfer to a plate, leaving the little bit of remaining oil behind. Reduce burner to medium heat and return skillet to heat. Add garlic and saute 30 seconds. Remove from heat. Add in orange juice, 1/4 cup of the chicken broth, the orange zest, soy sauce, honey, sugar, onion powder, ginger, vinegar and Sriracha. Season with salt and pepper to taste and return to heat. In a small bowl stir together cornstarch with remaining 2 Tbsp chicken broth until well blended. Pour mixture into wok, cook and stir constantly until sauce bubbles and has thickened well. Remove from heat and toss chicken in sauce mixture.

Serve warm with white or brown rice and top with green onions and sesame seeds.

From: Cooking Classy

Orange Chicken Stir Fry with Crispy Garlic Dressing

I’ve decided to give clean eating a try… I’ve heard a lot of people talking about it lately and one of my friends has posted pictures of some of the most beautiful food I’ve ever seen in my life. I’m not going all clean (after all, I had In-N-Out for lunch today and there’s no way in hell I could give up pasta), but am going to try to incorporate it into three or four dinners a week. I like the general idea – consuming food in as close to its natural state as possible. Here’s the general guidelines to clean eating – I like it because it’s not a diet plan, you can still treat yourself (seriously, I’m not giving up pasta), and it makes you think about what you’re putting into your body:

Eat the foods made by nature, not man.
Plan to eat five or six meals and snacks throughout the day.
Avoid processed foods (in other words, anything in a box with a label).
Use healthy cooking methods.
Eat before you become super hungry.
Stop eating when you’re satisfied, not stuffed.
Don’t count your calories, fat grams, or points.
Enjoy and appreciate its flavor.

That said, I made a trip to my local Whole Foods and got lots of yummy stuff to cook “clean” dinners over the next few nights. The first up was Orange Chicken Stir Fry, from Clean Eating Magazine’s online recipe bank. The one thing that I did not include was the chickpeas – I bought them dry, not realizing that they needed to be rehydrated and that process takes like twelve hours. So we’re having chickpeas in our salad tomorrow night. This whole healthy cooking thing is harder than it looks!

Mike and I both really liked this meal – brown rice and all. I normally don’t like it because it tastes chewy, but I barely undercooked it and it was delicious! This is definitely going into my recipe book! Enjoy!

Orange Chicken Stir Fry with Crispy Garlic Dressing

Ingredients

2/3 cup brown rice

1 tablespoon olive oil

7 1/2 oz BPA-free canned chickpeas, drained, rinsed and dried

1/4 tsp sea salt

Pinch ground cayenne pepper

1 bunch broccoli, trimmed

4 cloves garlic, thinly sliced

1 tbsp rice wine or apple cider vinegar

16 oz boneless, skinless chicken breasts, cut into 1-inch cubes

1 zucchini, thinly sliced lengthwise

1 tbsp reduced-sodium soy sauce or tamari

1 tsp ground ginger

1 orange, peeled, segmented and cut into 1/2-inch cubes

2 green onions, sliced

Directions

Cook rice according to package directions.

In a large skillet, heat 1 tsp oil on medium. Add chickpeas and cook, shaking pan occasionally, until golden, about 15 minutes. Season with salt and cayenne. Transfer to a bowl and cover to keep warm.

Meanwhile, in a steamer basket set over a pot of gently simmering water, cook broccoli until tender-crisp, 3 to 5 minutes.

Meanwhile, prepare dressing: In a small saucepan, heat 1 tsp oil on medium. Add garlic and sauté, stirring occasionally, until fragrant, crisp and golden, 3 to 4 minutes. Transfer to a small bowl and add vinegar. Set aside.

In a clean skillet, heat remaining 1 tsp oil on medium. Add chicken and sauté for 5 minutes. Reduce heat to medium-low and add zucchini, soy sauce and ginger. Sauté until chicken is cooked through and zucchini is tender, 5 to 7 more minutes. Stir in broccoli, orange, onions and dressing and heat through. Serve over rice and top with chickpeas.

Cobb Salad Tacos

Not gonna lie, the past week or so we’ve been pretty bad at cooking in our house. Life has been super busy and we’ve given in to the ease of eating out. Tonight we tried a Cooking Light recipe (with our own twist) and it turned out really delicious! I introduce you to the Cobb Salad Taco with home-made chips:

Cobb Salad Tacos
Cobb Salad Tacos

I love a good cobb salad – add it to a tortilla and you can’t go wrong!

Ingredients

2 large eggs

2 bacon slices

2 garlic cloves, minced

2 tablespoons red wine vinegar

1 1/2 tablespoons olive oil

1/4 teaspoon Dijon mustard

2 cups shredded skinless, boneless rotisserie chicken breast

2 tablespoons ranch dressing

a squirt (to taste) of Sriracha

corn tortillas

2 cups thinly sliced iceberg lettuce

1/2 cup diced tomato

1/2 ripe peeled avocado, chopped

Directions

Hard boil the eggs, then dice them.

Cook bacon in a medium nonstick skillet over medium heat until crisp. Remove bacon from pan, saving the drippings. Drain bacon on paper towels, crumble and set aside. Add garlic to the bacon drippings and cook for 1 minute, stirring frequently. Remove from heat; add vinegar, oil, and mustard, stirring until combined. Add chicken to pan; toss to coat.

Combine ranch and Sriracha to taste.

The original recipe says to toast the tortillas over the burner… we prefer to give them a 10 second per side fry (using the same oil we made the chips in). That definitely keeps it a little healthier (I guess our “twist” isn’t so light…).

Now build your cobb salad taco! This was a super easy recipe and you can easily add other stuff (in fact, it called for bleu cheese, but I hate the stuff, so I left it out). Enjoy!