I’ve been hesitant to name the chicks thus far as I’ve heard from multiple people that bad things can happen to your chicks. According to Jason Price at Modern Farmer, “At least one of your chickens will die a horrible death”, via random disease, predator attack, or in his case, dog-he-was-pet-sitting-attack. If you know me, you know I get attached, and fast. So, for these first few days, I’ve tried to remain emotionally unattached, which I’m failing miserably at.
Without further ado, I introduce you to the first two chicks I’ve named.
Legs
Legs
Meet Legs, my six-day old Feather Legged Cuckoo Maran. She will eventually lose all of that black down and develop black and white speckled feathers. She’s a bit different than the Brown Cuckoo Maran you will meet later, in that she has feathered legs (hopefully you caught that already from the breed name). You can see them starting to grow in the picture. Thus, the name Legs. I can’t wait to see what she looks like when she gets older!
Chip
Chip
Meet Chip, my six-day old Welsummer. Her full name is “Chipmunk” because she very much looks like a chipmunk when you look at her from the top down. She is very similar to the Speckled Sussex… in fact, I had to do some research to be able to tell them apart at this point. The key differentiation seems to be the legs… the Welsummer has pinkish legs while the Speckled Sussex has yellowish legs. You learn something new every day!
Over the past few years I’ve thought off and on about getting chickens. We live on a little over five acres and with the exception of the land right around the house, we let most of the property remain natural. We’ve got a good chunk fenced off for Shadow and another chunk fenced for my orchard. Every spring I’ve seen the sweet little chicks at the feed stores, but haven’t quite been ready to take the step. My sister went on Thursday to get some of her own… and it finally spurred me to get some of my own!
I ended up getting a variety of breeds and colors… some of them look very similar as chicks, but will look very different as adult hens. None of them will be meat birds… we’re just looking for eggs.
Rhode Island Red: an American breed of chicken known for it’s egg laying and hardiness.
Rhode Island Red
Barred Rock: (also known as Plymouth Rock) a breed of chicken that originated in the United States and is a cold hardy bird. They lay a light brown egg that can have a hint of pink. I got two of these ones.
Barred Rock Chicken
Gold Sex Link: a breed of chicken whose color at hatching is differentiated by sex, which makes it very easy to tell a hen from a rooster.
Gold Sex Link Chicken
Brown Cuckoo Maran: a breed of chicken that originates from a western region of France, known for their dark brown eggs (and fine meat quality).
Brown Cuckoo Maran
Welsummer: a Dutch chicken breed from the small villiage of Welsum, known for being friendly and intelligent.
Welsummer Chicken
Feather Legged Cuckoo Maran: similar breed to the brown cuckoo maran, only these guys have feathers down their legs.
Feather Legged Cuckoo Maran
Red Sex Link: a redder version of the gold sex link (see above)
Red Sex Link Chicken
Dominique: considered America’s oldest chicken breed, known for their meat and brown eggs
Dominique Chicken
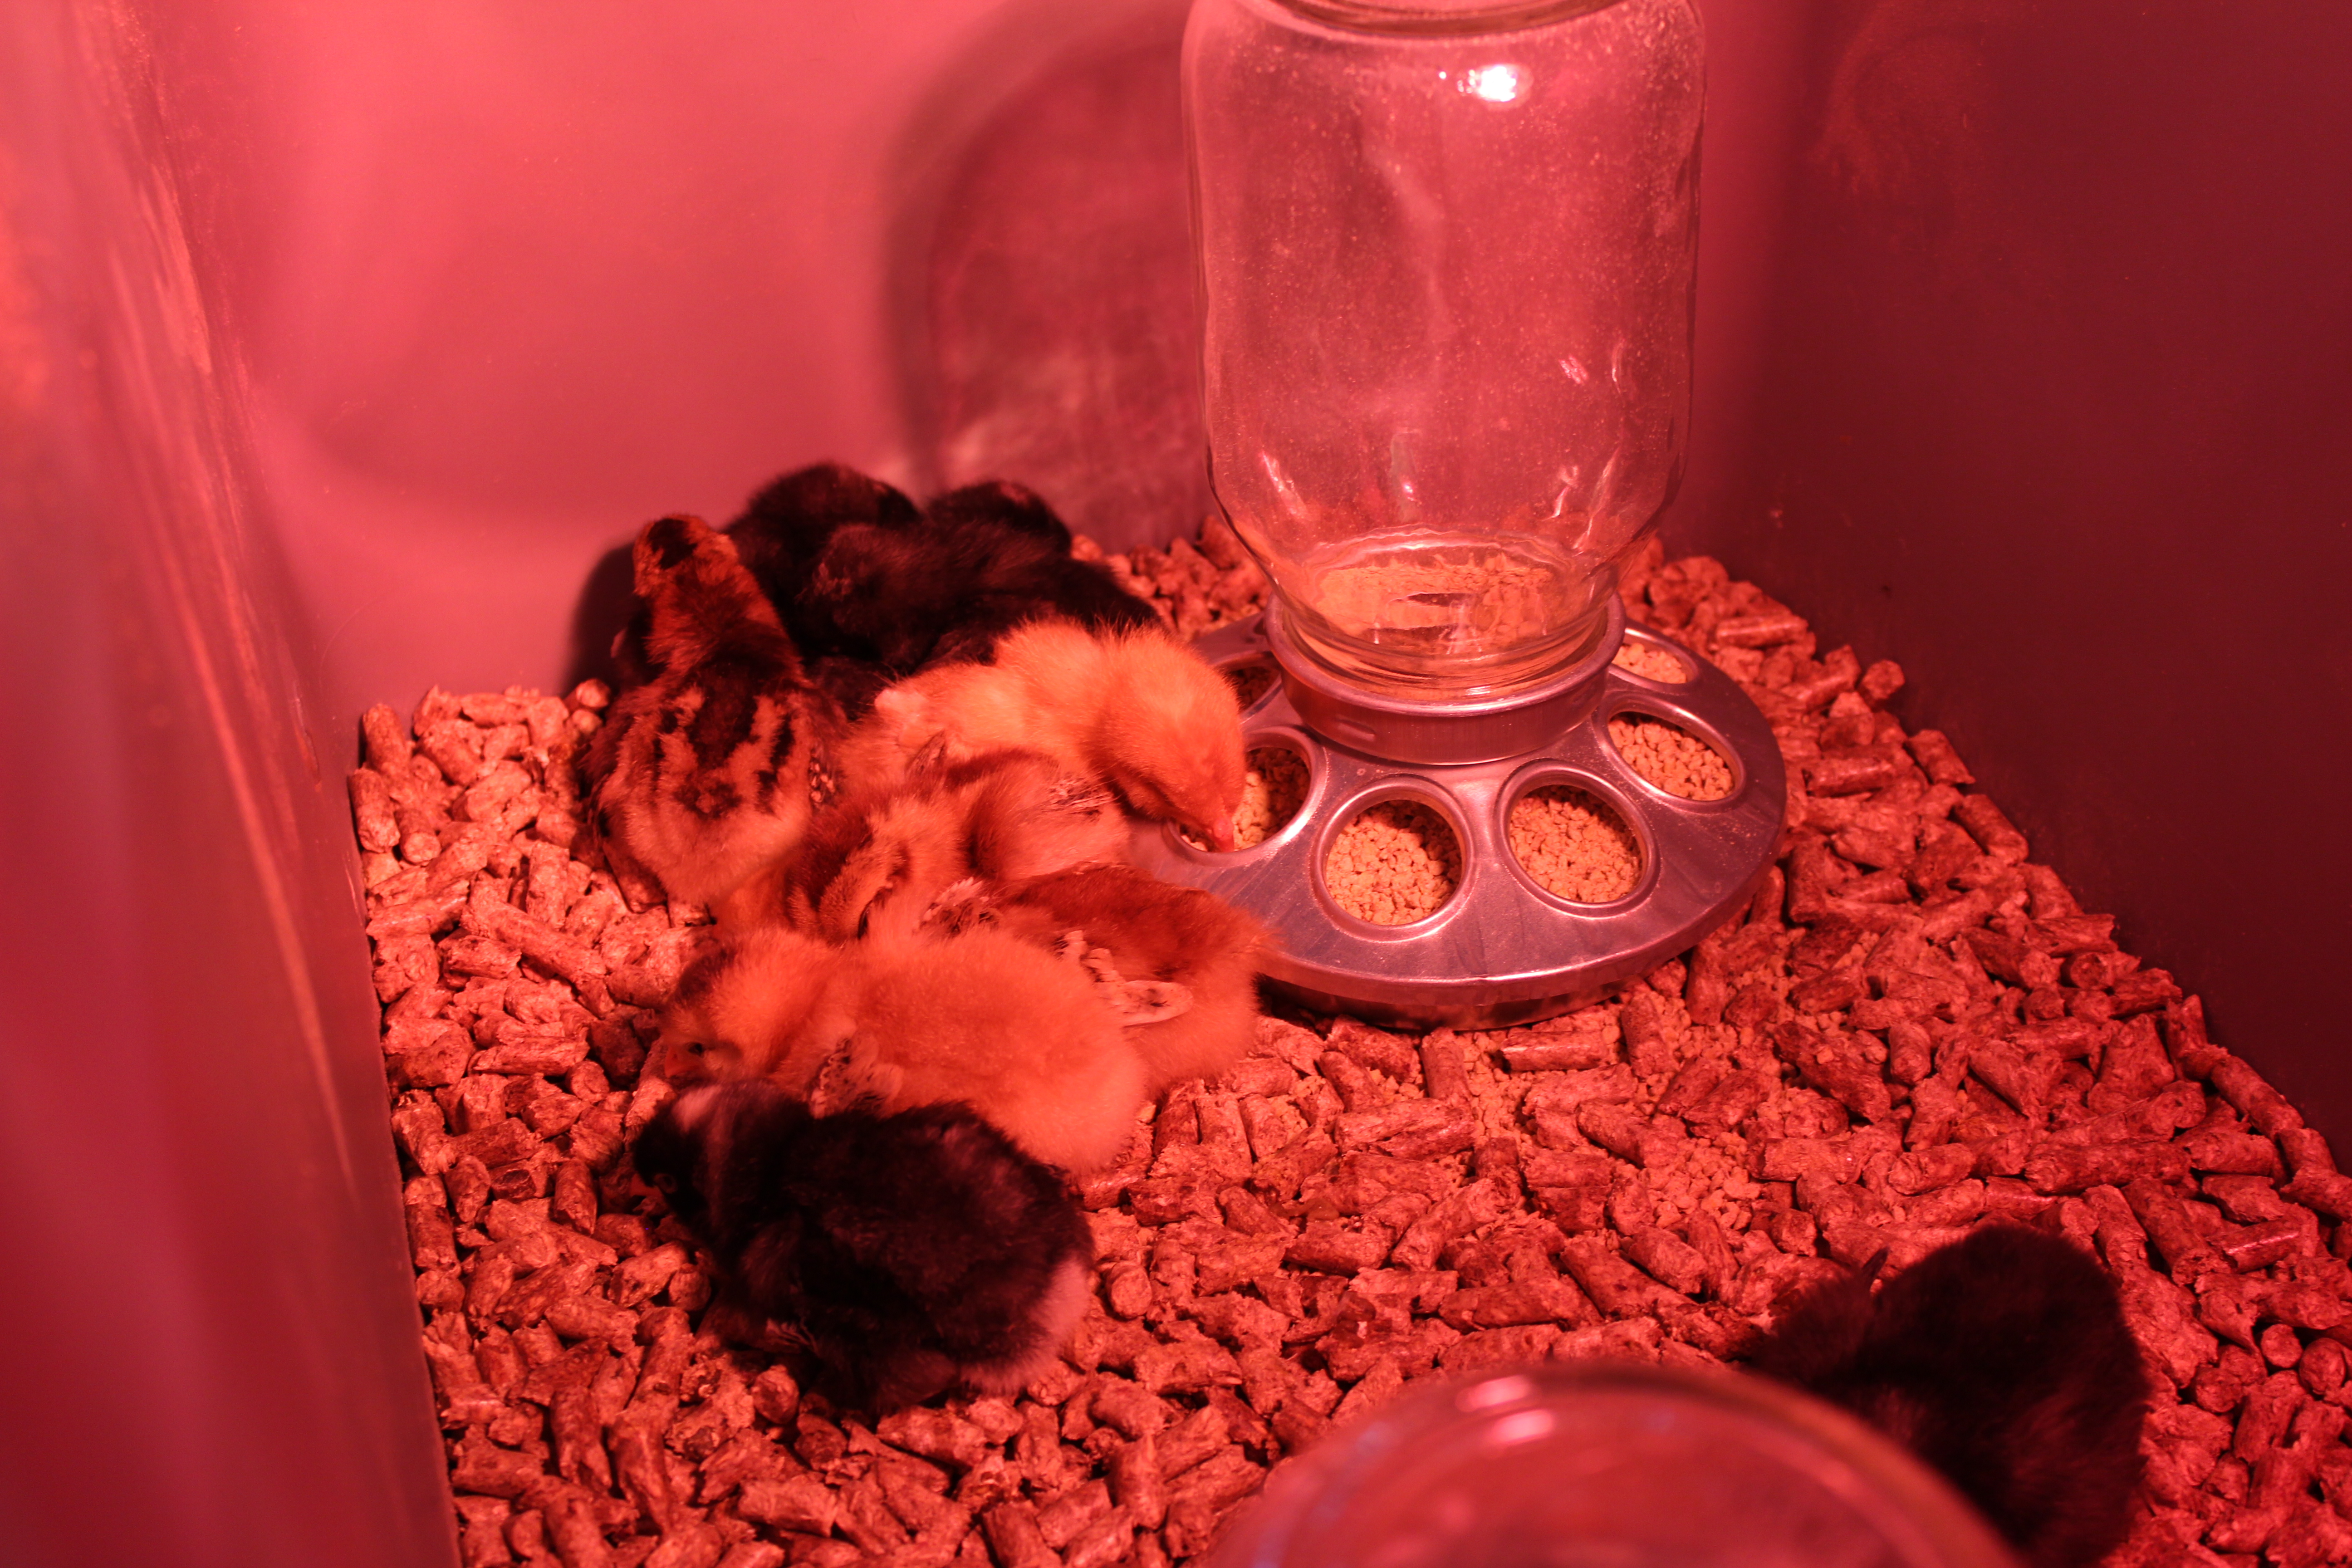
My little chicks look nothing like the pictures above. You have to use a red heat lamp because chickens are naturally cannibalistic and if for some reason one of them has any blood on it, they’ll peck it to death. The red light helps to hide anything that might trigger peckfest. That said, my garage looks like the red light district… and we have windows, so it shines outside.
The Red Light District
Here are the ladies (well, hopefully all ladies) without the red glow. They were a little agitated because they had been taking a nap and I woke them up.
Meet The Ladies!
I decided that I am going to build my own coop… I have about a month before they are ready to leave their box and I have picked out a section of the orchard (that way we have double fencing) that I think would be perfect. I want to build a functional coop with a HUGE run. I can’t wait!!!
This past weekend Mike and I attended the Amador Vintners “Behind the Cellar Door” event. As we do every year, we rented one of those big white vans and had someone as the designated driver… they ONLY way to go in my humble opinion!
Mike & I at Young’s Vineyard
We ended up at nine different vineyards: Sierra Ridge, Drytown Cellars, Young’s Vineyard, Terra d’Oro, Cooper Vineyards, Karmère Vineyards, Shenandoah Vineyards, Dobra Zemlja, and Borjon. I will say that after NINE stops, I had to go home and lay down… there is only so much wine a girl can drink! It was a blast!
This morning I had my first experience with equine dentistry. I had tons of questions, and the veterinarian was super nice and actually a little excited that someone wanted to hear about what he does for a living. He has a cool trailer hooked to his truck that expands out and has everything he needs from tools to a portable stall, to the sling you see below to hold the horse’s head.
The very first thing the vet does is to tranquilize the horse… for fairly obvious reasons. Sue got pretty mellow, pretty fast. I walked him over to the trailer and we put him in the stall. He immediately leaned both on the stall and on the little chin rest.
Sleepy Sue
The vet then explained everything he was going to do… basically, if a horse’s teeth do not wear evenly (tons of reasons why they wouldn’t) it can cause eating problems, tooth loss, ulcers in their mouth, etc. So once a year, the vet has to basically grind their teeth down to smooth off the sharp edges and realign the bite. He started with the front teeth, or incisors.
Working On The Front Teeth
None of this hurts them since the “pulp” in their teeth is buried down inside. Yes, that’s his massive tongue just hanging out. He was way mellow. The vet then had me look inside Sue’s mouth and feel some of the sharp edges of the molars. He had one little spot that was ulcerated (similar to how the inside of your cheek feels when you bite it).
It’s kind of a terrible picture because my camera wanted to focus on the wrong part, but you can see how far back it goes if you look closely. The scary looking contraption on this head/mouth is just their to hold it open for the vet.
Inside The Mouth
He also had to file down the sharp canines. Only stallions and geldings have them and in the wild they’re used to fight. In domestic horses, they are the most sensitive teeth and can cause pain if the bit hits them and they’re too long.
Filing The Canines
This is his setup… it was really neat!
Mobile Dentist Office
I absolutely love this vet! He answered every question I had, was happy to let me take pictures, and was really great with Sue. Once he was done, I took Sue back to his stall. He had to wait about an hour to eat (and to come out of the drug haze) but is doing just fine!
We’ve finally had some rain here in sunny California and today I saw three different rainbows. The last was an awesome double rainbow on the way home from work… I (along with about ten other cars) had to pull over to take some pictures. It was amazing! Definitely reminded me to stop and enjoy the beauty of the world around me!
Yesterday the group I ride with got rained out. We decided to head into Ione for a ride under their covered arena… which, once we arrived we discovered that there was a show in progress. Fortunately, it wasn’t raining there and we had miles of trails to head out and work on. This arena is a bit scary for some horses, and sometimes Sue gets sucked into the energy. I don’t know if it’s because it’s covered, or there’s cows, or what, but something just makes them all a little on edge. I was so proud – we warmed up and he was doing great – definitely alert and paying attention to his surroundings, but listening and responding to me. Same thing when we headed out to the trail. He loped when I asked him to and when he got a little crazy (ran a bit faster than I was asking for), responded to my cues to slow down.
We came around a bend on the trail and I spotted a puddle. I thought “we’re having a great day and he’s scared of puddles… since he’s listening, let’s give it a try”. It was about 10 feet long and about 2 feet wide… I went to the short side and asked him to cross.
You would have thought I was asking him to step off the edge of the Grand Canyon.
We fought. My trainer and the rest of the group watched and coached and encouraged me. I got more and more frustrated and I could feel Sue doing the same. We’ve crossed puddles and creeks before and while he’s been nervous, it was never a fight like this. I started to feel like all of our trust was disappearing.
Finally, my trainer asked me to step off so she could work him on it. It took a while, but she got his mind back and he finally did it. At this point, both he and I were covered in sweat and exhausted. I was a little embarrassed that I wasn’t able to master something that was seemingly so simple, especially since we had done so well on what seemed like more advanced stuff earlier in the day. I hopped back on and we spent the remainder of our ride just chilling and reconnecting.
I think the day was more traumatic for me than for him. It reminds me that every time I get comfortable and feel like I’ve got this, something new will pop up. He’s young, I’m new(ish), and it’s all part of the process of learning and growing together. I got so focused on the “bad” part of the ride (which in reality was a really good learning experience) and didn’t focus on all of the really great stuff we did.
We’ll conquer the boogie man in the puddle someday!
I am absolutely obsessed with this song right now… I can’t not listen to it when it comes on the radio and I constantly have it in the mix on my playlists. I first heard it when Bruno Mars was on SNL… I love the retro feel of the horns and the cool dance moves. Enjoy and happy Friday!
You might notice that things look a little different around here… I’ve spent the last few weeks working on an overhaul of my blog. The new layout is cleaner and more organized, something I’ve been working on since I got my amazing Erin Condren Life Planner! I’m also working on getting my own domain name registered… stay tuned for more on that!
In the spirit of starting fresh, I’ll recap the kinds of things I’ll probably cover here:
Planning & organizing tips & tricks
All things equestrian
Yummy recipes I’ve tried and liked
Book, movie, and music reviews
Random bits of my life that I feel like sharing with the world
As always, feel free to comment and discuss! Hope you enjoy!
It’s official… I’m OBSESSED with my Erin Condren Life Planner. Let me kick off this post by saying that I am in no way getting paid to review this planner… just sharing my love for it with the world! I spent the last few months of 2014 looking for a new way to stay organized in 2015. Historically, I’m a paper planner kind of girl… I’ve tried, but the digital stuff just doesn’t work for me. I had seen review after glowing review on the ECLP… people just gushing about it and my sister’s sister-in-law showed me hers. I was sold and decided to give it a go.
The Arrival
After what seems like the longest two or so weeks of my life, the planner finally showed up at my door. The box was beautiful and I’m pretty sure I heard angels singing when I opened it. There’s something to be said for pretty packaging!
The Box
Inside was all of the awesome stuff I ordered – the planner, coil clips (to clip stuff like invitations into the planner), note pads, bands to hold the planner closed, and a pen holder. It was amazing and absolutely beautiful!
The Opening of the Box
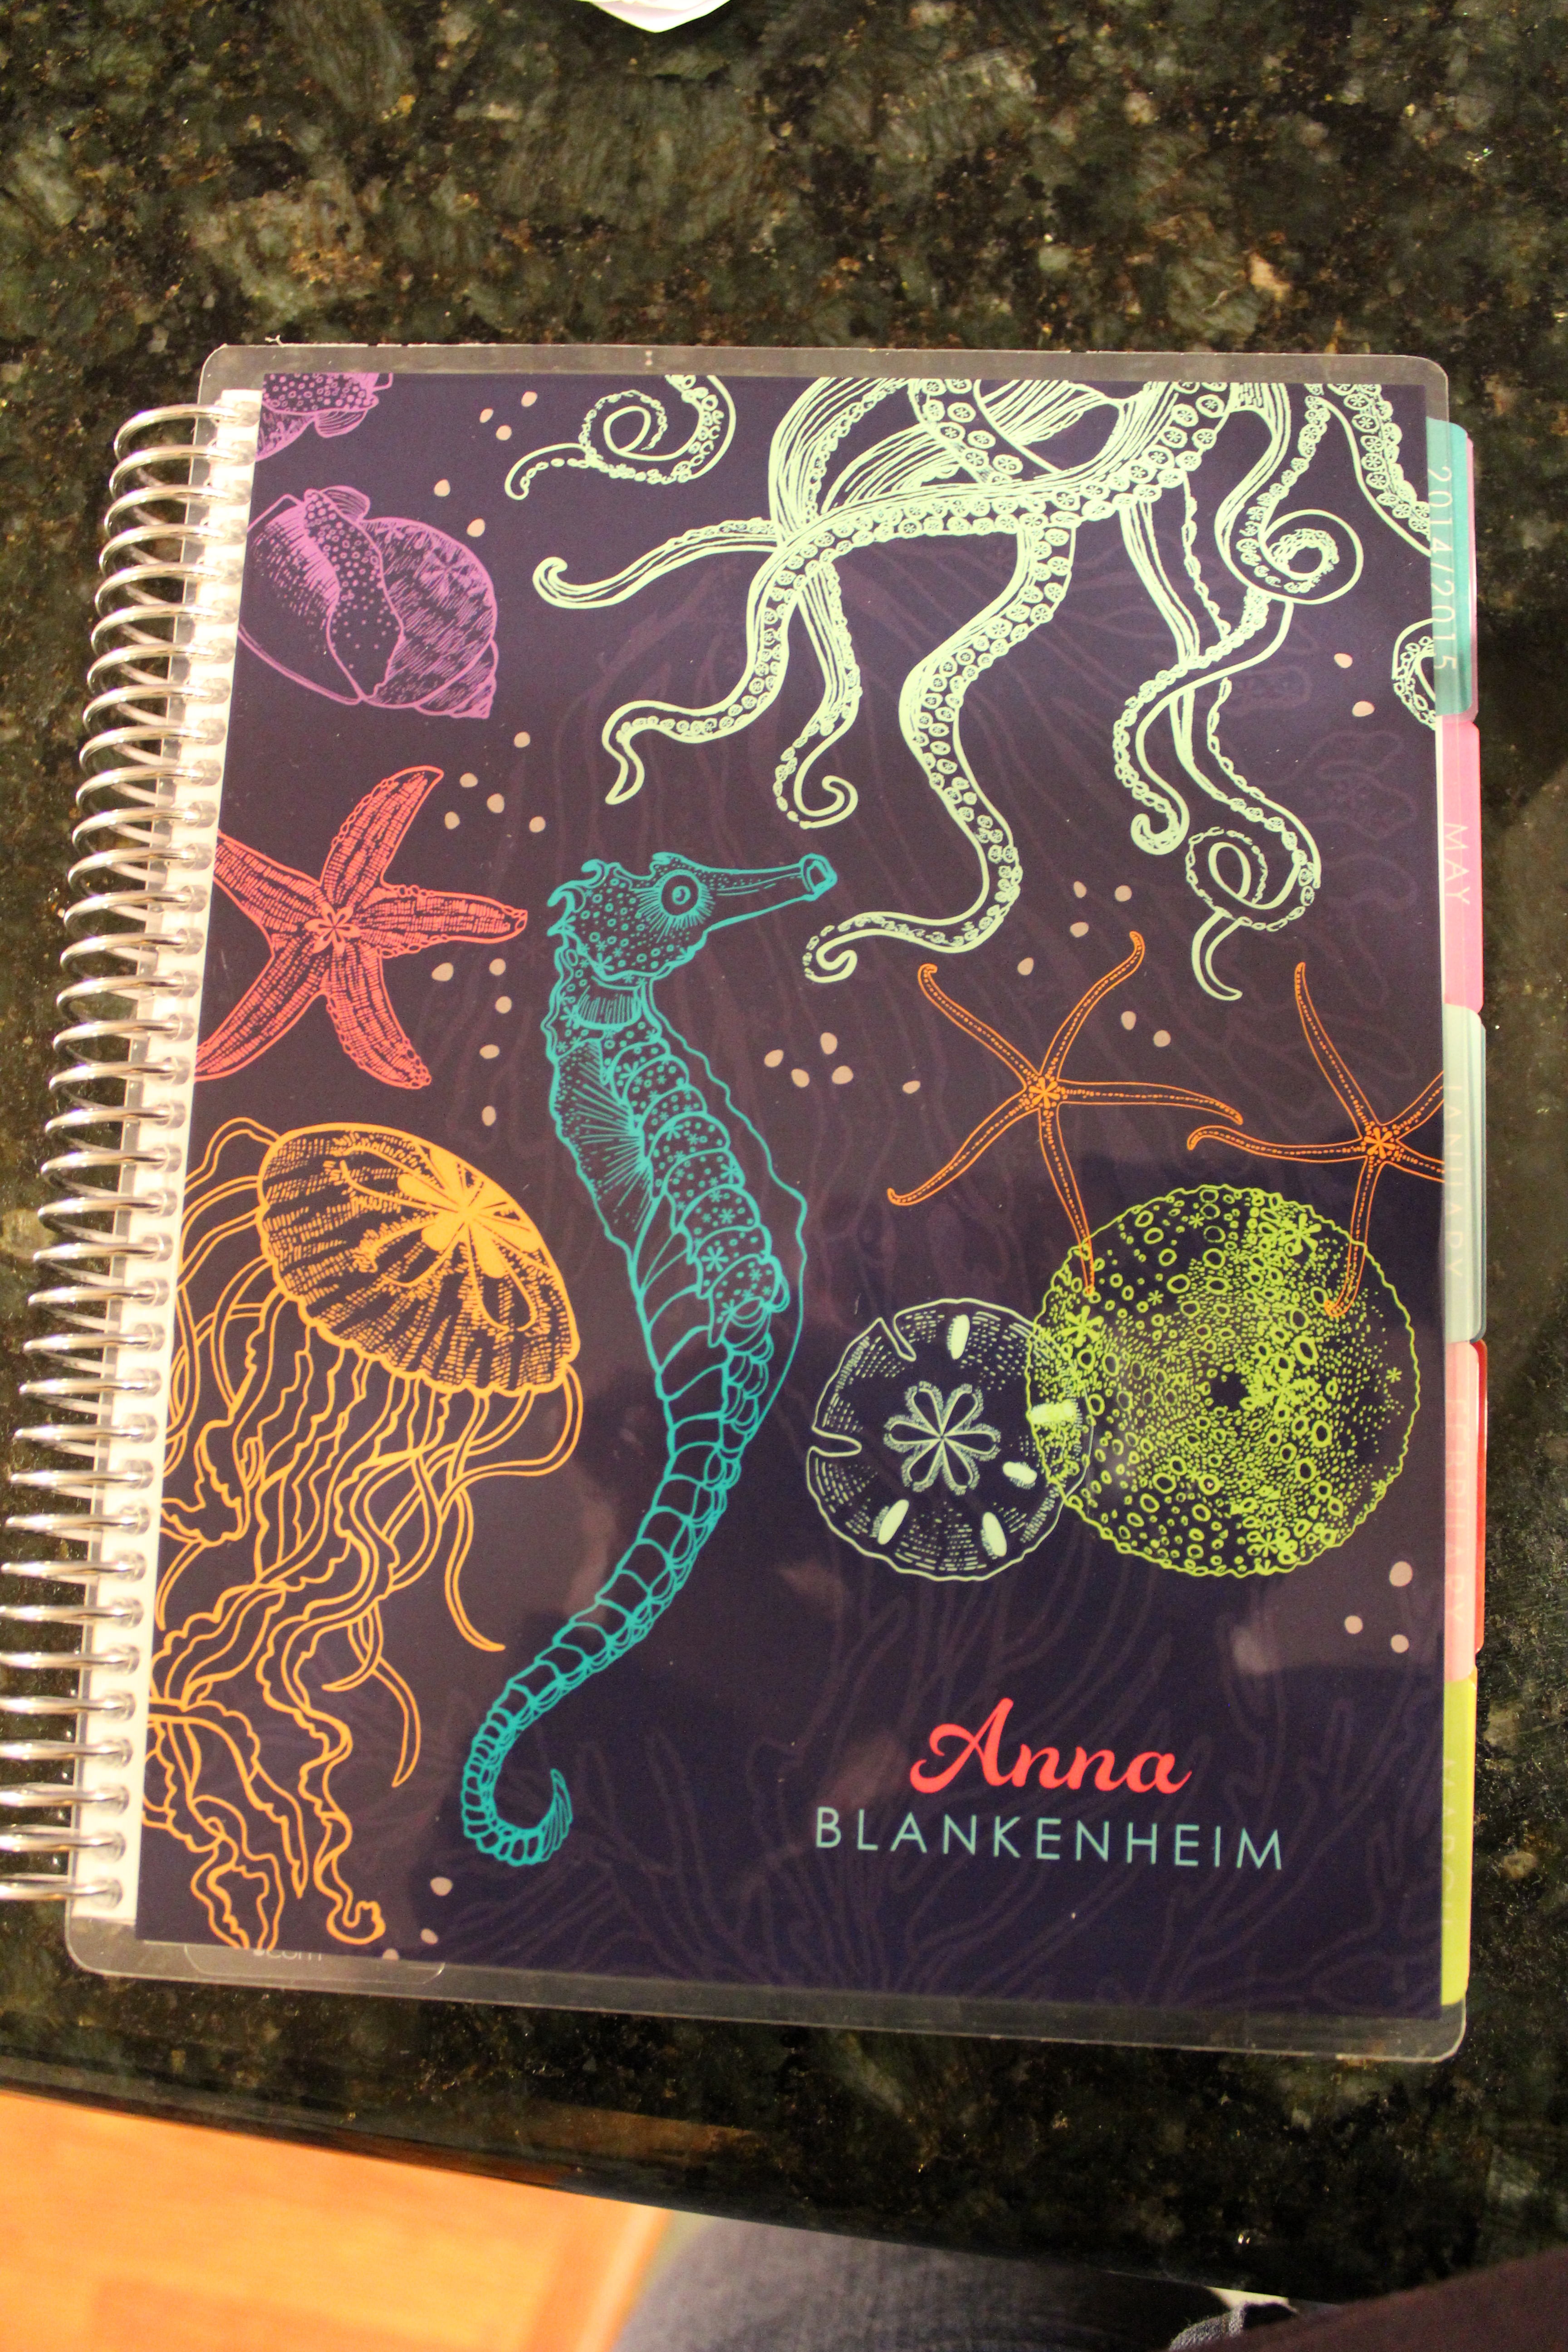
I chose the seahorse theme for this year and kept it pretty simple, adding only my name. My sister did a polka dot theme with her name on the front cover and picture of Chloe on the back. There are seriously a zillion options, all customizable, and to make things even better, the covers are removable and interchangeable!
My Planner!
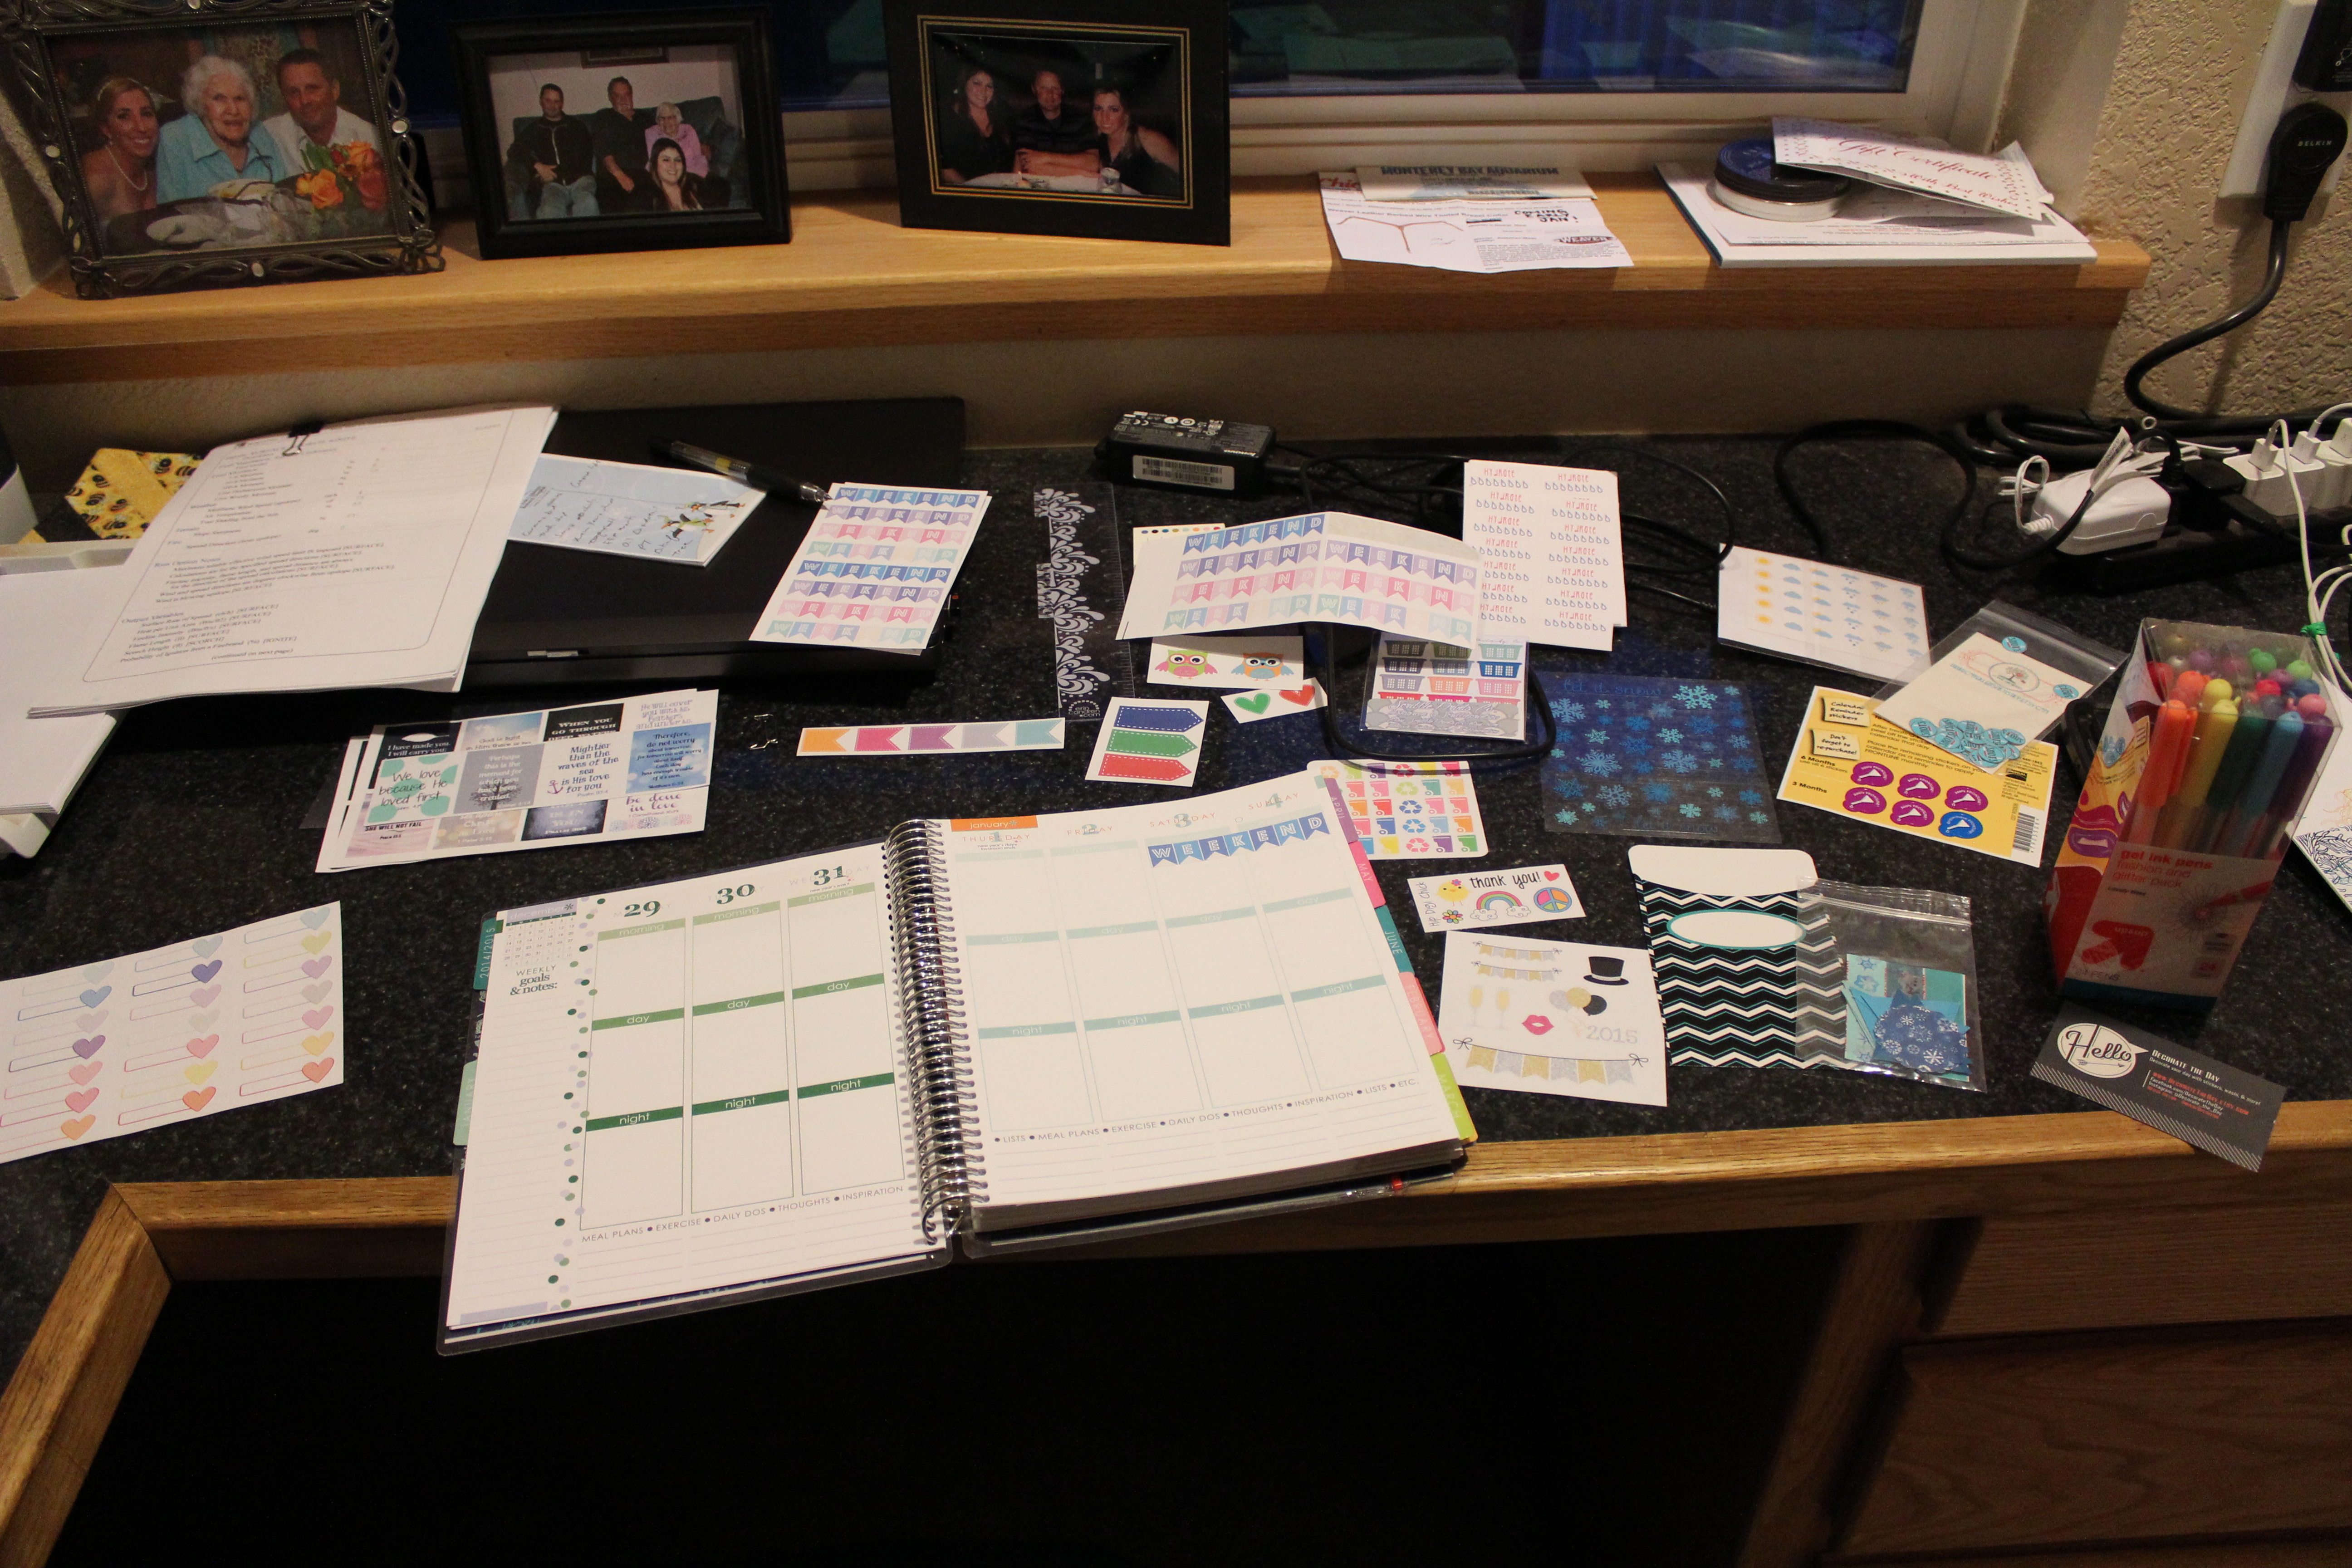
The Accessories
Here’s where the cost of the planner can really start to add up. Not only does the Erin Condren site itself offer accessories, but there’s a whole world of planner decoration stuff out there that I never knew existed. Washi tape, laundry stickers, running stickers, meal planning stickers, even riding lesson stickers! You name it, and someone on Etsy has created a sticker to represent it (or will custom make them!).
The Obsession Begins
The Planning
Planners are made for planning, right? Now that I’m two weeks in, I feel more than qualified to tell you about the usage (even though in my stalking studying of other planners on Instagram, Facebook, etc I’m learning there are so many things to track that I had never thought of!).
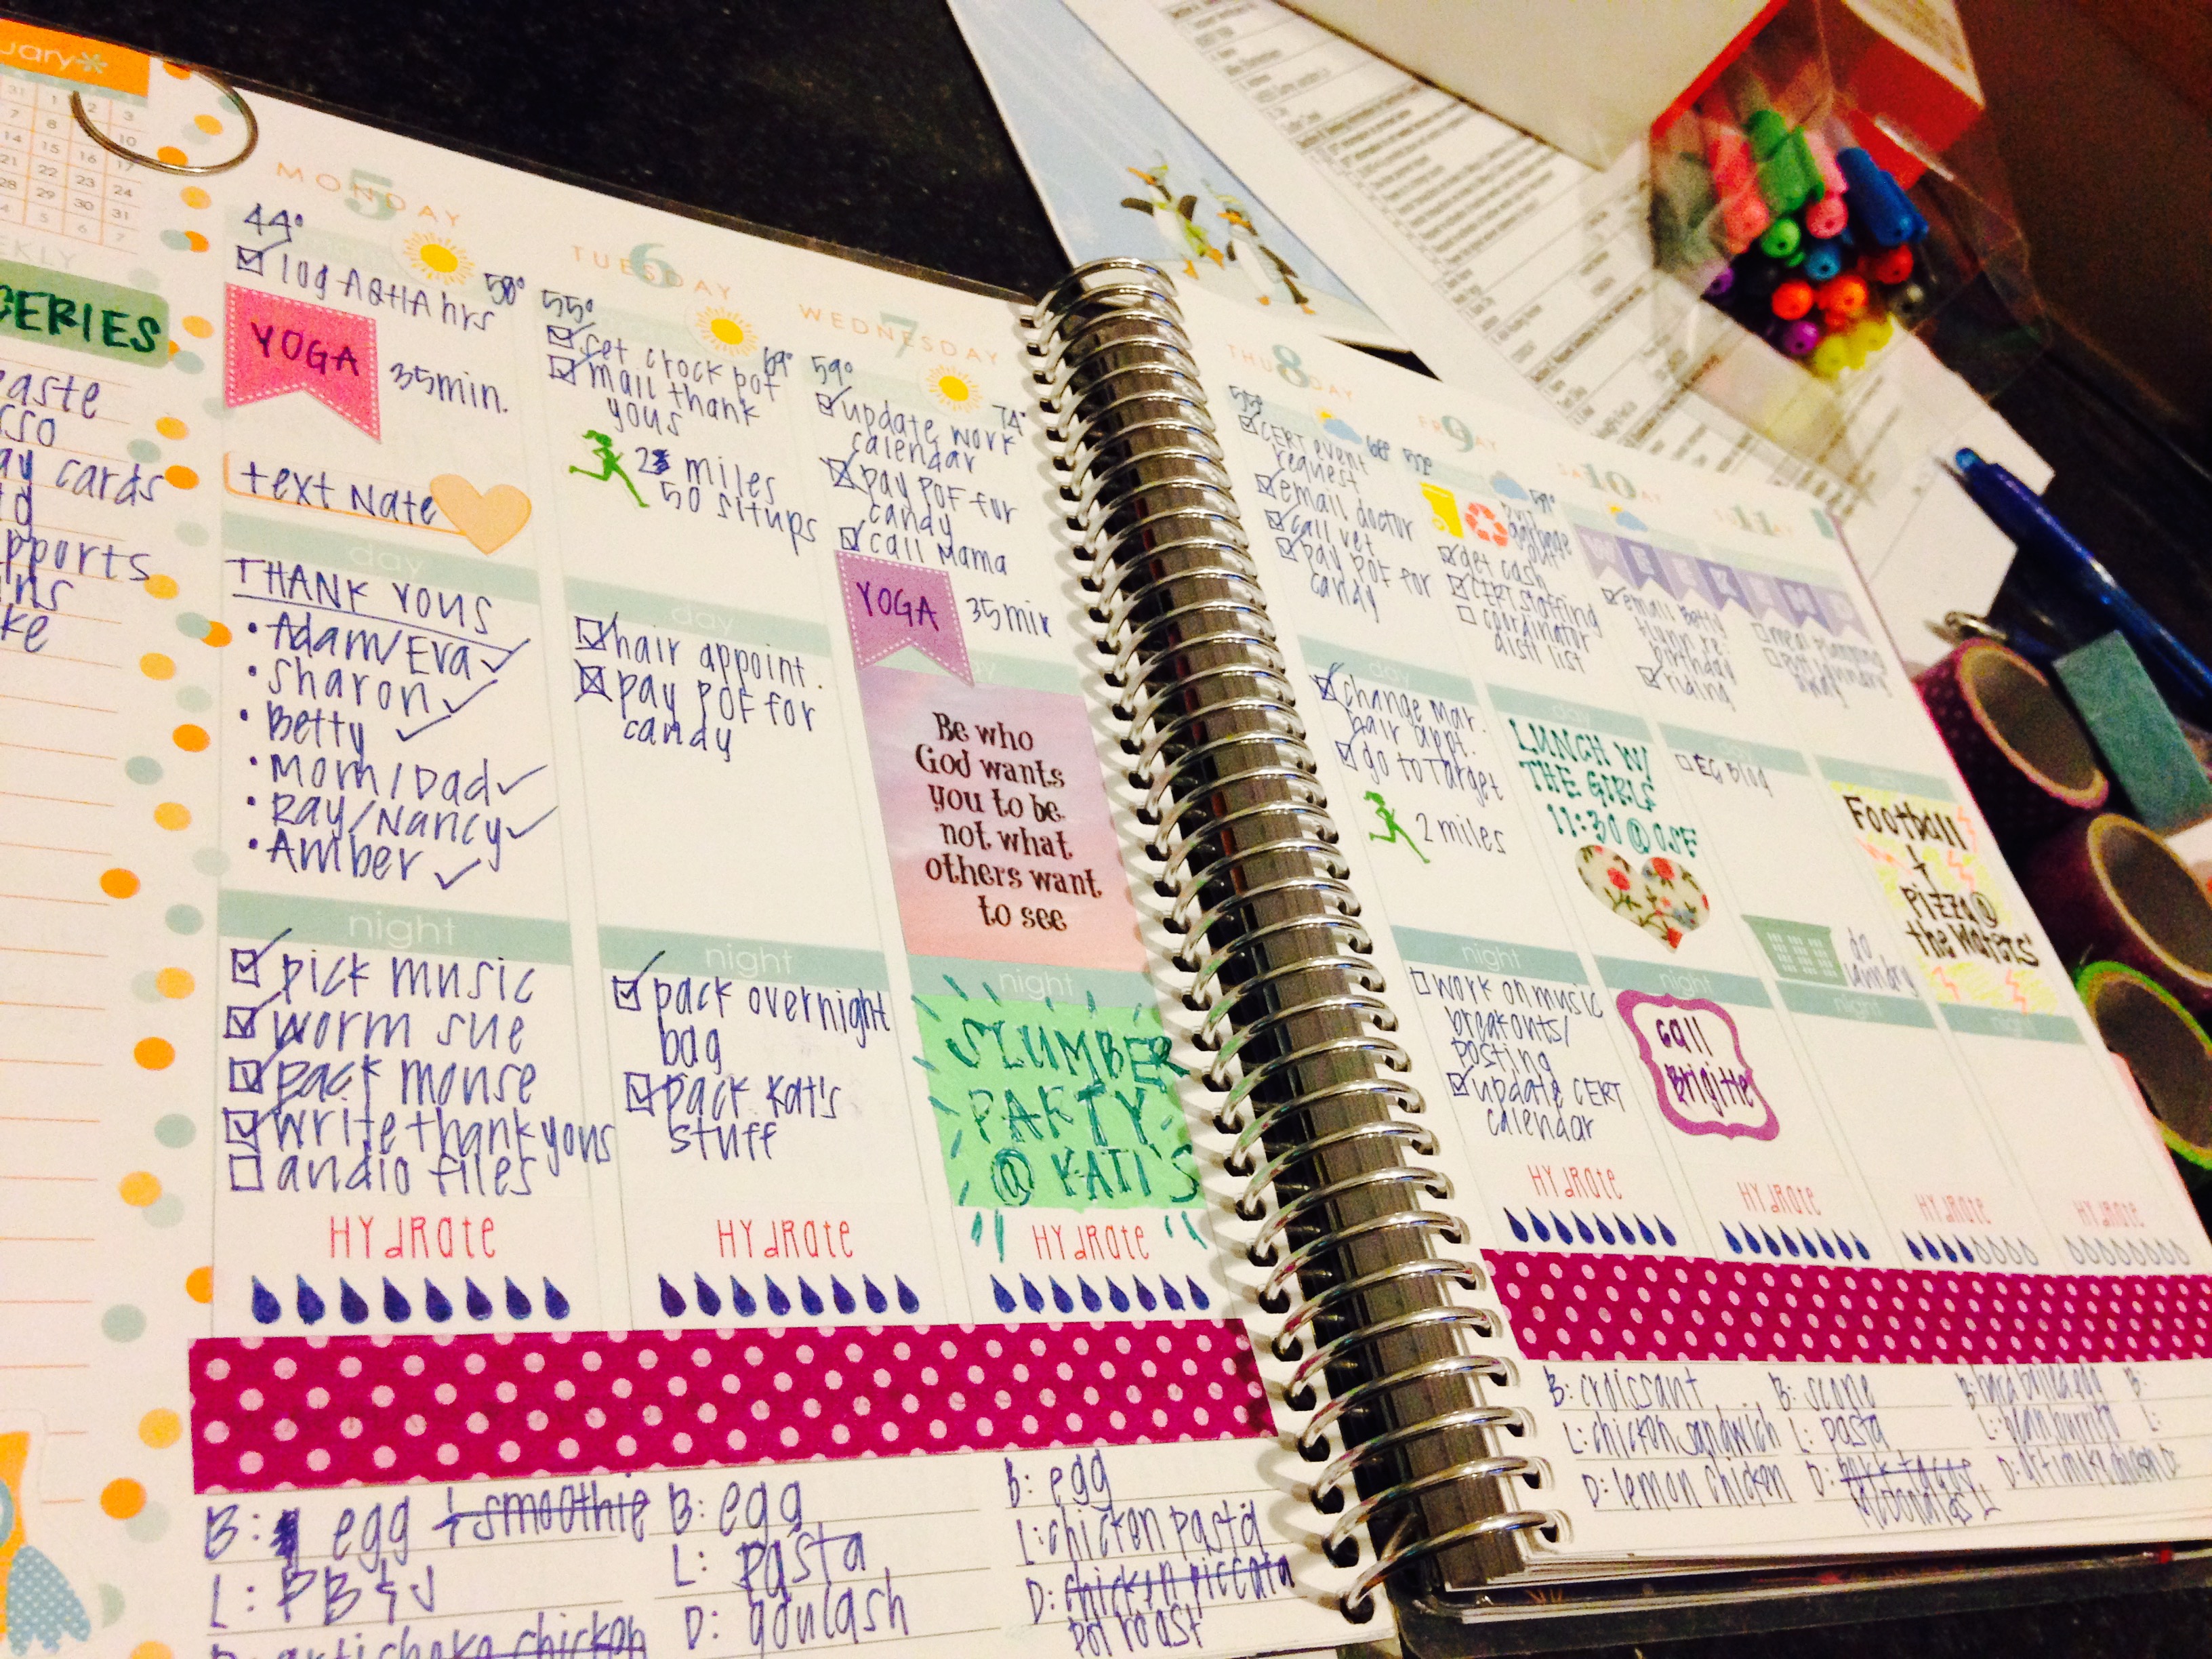
The thing that made me nervous about the ECLP was the weekly breakouts. I like my planners to have a monthly view (where I track appointments, lessons, commitments, etc) and a weekly layout (which I’ve used as a to do list). The ECLP layout breaks each of the weekly sections into “morning”, “day”, and “night”… something I wasn’t sure I was going to like. I’ve found it was pretty easy to get used to and, in fact, helped me focus on my daily tasks. The weekly portion is part to do list, part journal, part diary… it’s great!
Another thing I’ve done is made use of the back notes pages… so far I’m using three of them – one called “Sue’s Page” that tracks his worming, shoeing, and vaccines, one called “Random Acts of Kindness” that tracks people I will be sending love to throughout the year, and one called “Read, Watch, Listen” that tracks books I’d like to read, movies I want to see, and music I want to listen to. All decorated with washi tape and all sorts of fun colors.
Well, that’s about all I have to say about that. I definitely love this thing! I feel like I’ve sucked at decorating the first few weeks as I get my creative juices flowing… perhaps I’ll share some peeks once I get going! Ok, maybe ONE peek now:
Full Week!
If you’d like to order your own ECLP, click here for $10 off! I hope you enjoy yours as much as I do mine!
Ok, internet friends, this one is a good one. I found this recipe in my Cooking Light magazine (click here for the link to their site) and it was a hit. It takes just a little more than the 30 minutes that’s promised, but is quick, easy, and delicious! It was so pretty that I decided to share two pictures – one in the pan and one on the plate! I did leave out the mushrooms (I’m allergic) and only added two chicken breasts. This would definitely feed four people if you added the two extra chicken breasts. Enjoy!
In The SkilletOn The Plate
Ingredients
12 ounces baby red potatoes, halved
1 tablespoon olive oil, divided
4 (6-ounce) skinless, boneless chicken breast halves, pounded to 3/4-inch thickness
3/4 teaspoon kosher salt, divided
1/2 teaspoon freshly ground black pepper, divided
2 thyme sprigs
4 ounces cremini mushrooms, quartered
1 tablespoon chopped fresh thyme
1/4 cup whole milk
5 teaspoons all-purpose flour
1 3/4 cups unsalted chicken stock (such as Swanson)
8 very thin lemon slices
1 (8-ounce) package trimmed haricots verts (French green beans)
2 tablespoons chopped fresh flat-leaf parsley
Directions
Preheat oven to 450°.
Place potatoes in a medium saucepan; cover with water. Bring to a boil, and simmer 12 minutes or until tender. Drain.
Heat a large ovenproof skillet over medium-high heat. Add 1 teaspoon oil to pan. Sprinkle chicken with 1/4 teaspoon salt and 1/4 teaspoon pepper. Add chicken and thyme sprigs to pan; cook 5 minutes or until chicken is browned. Turn chicken over. Place pan in oven; bake at 450° for 10 minutes or until chicken is done. Remove chicken from pan.
Return pan to medium-high heat. Add remaining 2 teaspoons oil. Add potatoes, cut sides down; mushrooms; and 1 tablespoon thyme; cook 3 minutes or until browned, stirring once. Combine milk and flour in a small bowl, stirring with a whisk. Add remaining salt, remaining pepper, flour mixture, stock, lemon, and beans to pan; simmer 1 minute or until slightly thickened. Add chicken; cover, reduce heat, and simmer 3 minutes or until beans are crisp-tender. Sprinkle with parsley.