The other night I tried a new recipe from Cooking Light… it was really yummy! Apricot is one of my favorite fruits, so I was excited to try something that used it! From start to finish the whole thing took about 35 minutes… nice and quick for a weeknight meal! Enjoy!
Roast Pork Tenderloin with Spicy Apricot Jam
Ingredients
1/2 cup apricot preserves
1 tablespoon white wine vinegar
3/4 teaspoon kosher salt
1/4 teaspoon crushed red pepper
2 cloves garlic, finely chopped
1 one pound pork tenderloin
1/4 teaspoon fresh ground black pepper
2 teaspoons olive oil
Directions
Preheat oven to 425 degrees.
Combine preserves, vinegar, 1/4 teaspoon salt, red pepper, and garlic in a small saucepan; bring to a simmer. Cook 3 minutes or until slightly thickened.
Sprinkle pork with remaining salt and black pepper. Heat a large ovenproof skillet over medium-high heat. Add oil; swirl to coat. Add prok to pan; cook 4 minutes or until browned. Turn pork over.
Place pan in oven. Bake at 425 degrees for 10 minutes or until thermometer registers 150 degrees. Remove pork from pan; let stand 10 minutes. Cut pork into thin slices and serve with apricot mixture.
Last night we tried a new pork recipe – I’m always excited about those as New Years approaches because we tend to have a lot of pork left over from our annual New Years Eve pig roast. This one was really delicious – and super easy to make! It only took about 30 minutes and actually made the number of servings listed (four – which is perfect for my little family of two).
I was running late at work, so Mike took the reins on cooking. Alas, my husband does not take pictures of food he cooks, so I don’t have a delicious looking place setting to show you. To make matters worse, I can’t find the recipe on the Better Homes and Gardens website – the recipe was in their January 2015 magazine.
Ingredients
1/4 cup all purpose flour
1 tsp. ground cumin
1 1/4 boneless pork loin, cut into 1 inch pieces
2 tsp. olive oil
1 twelve ounce package frozen corn with red and/or green peppers or frozen whole kernel corn
1 cup mild salsa verde (we used Tostidos medium)
3/4 cup water (my husband also added a few cups chicken broth because he thought it was getting too thick)
1/4 cup sour cream
Directions
In large self-sealing plastic bag combine flour and ground cumin; add pork. Seal bag; toss to coat.
In large skillet heat olive oil over medium heat. Add pork and any remainging flour mixture to skillet. Cook for 8 minutes, stirring occasionally until pork is well browned. Remove from skillet. Stir in corn, salsa verde, and water, scraping up any browned bits. Bring to boiling. Add pork to skillet and heat through.
Ladle into bowels. Top each serving with sour cream.
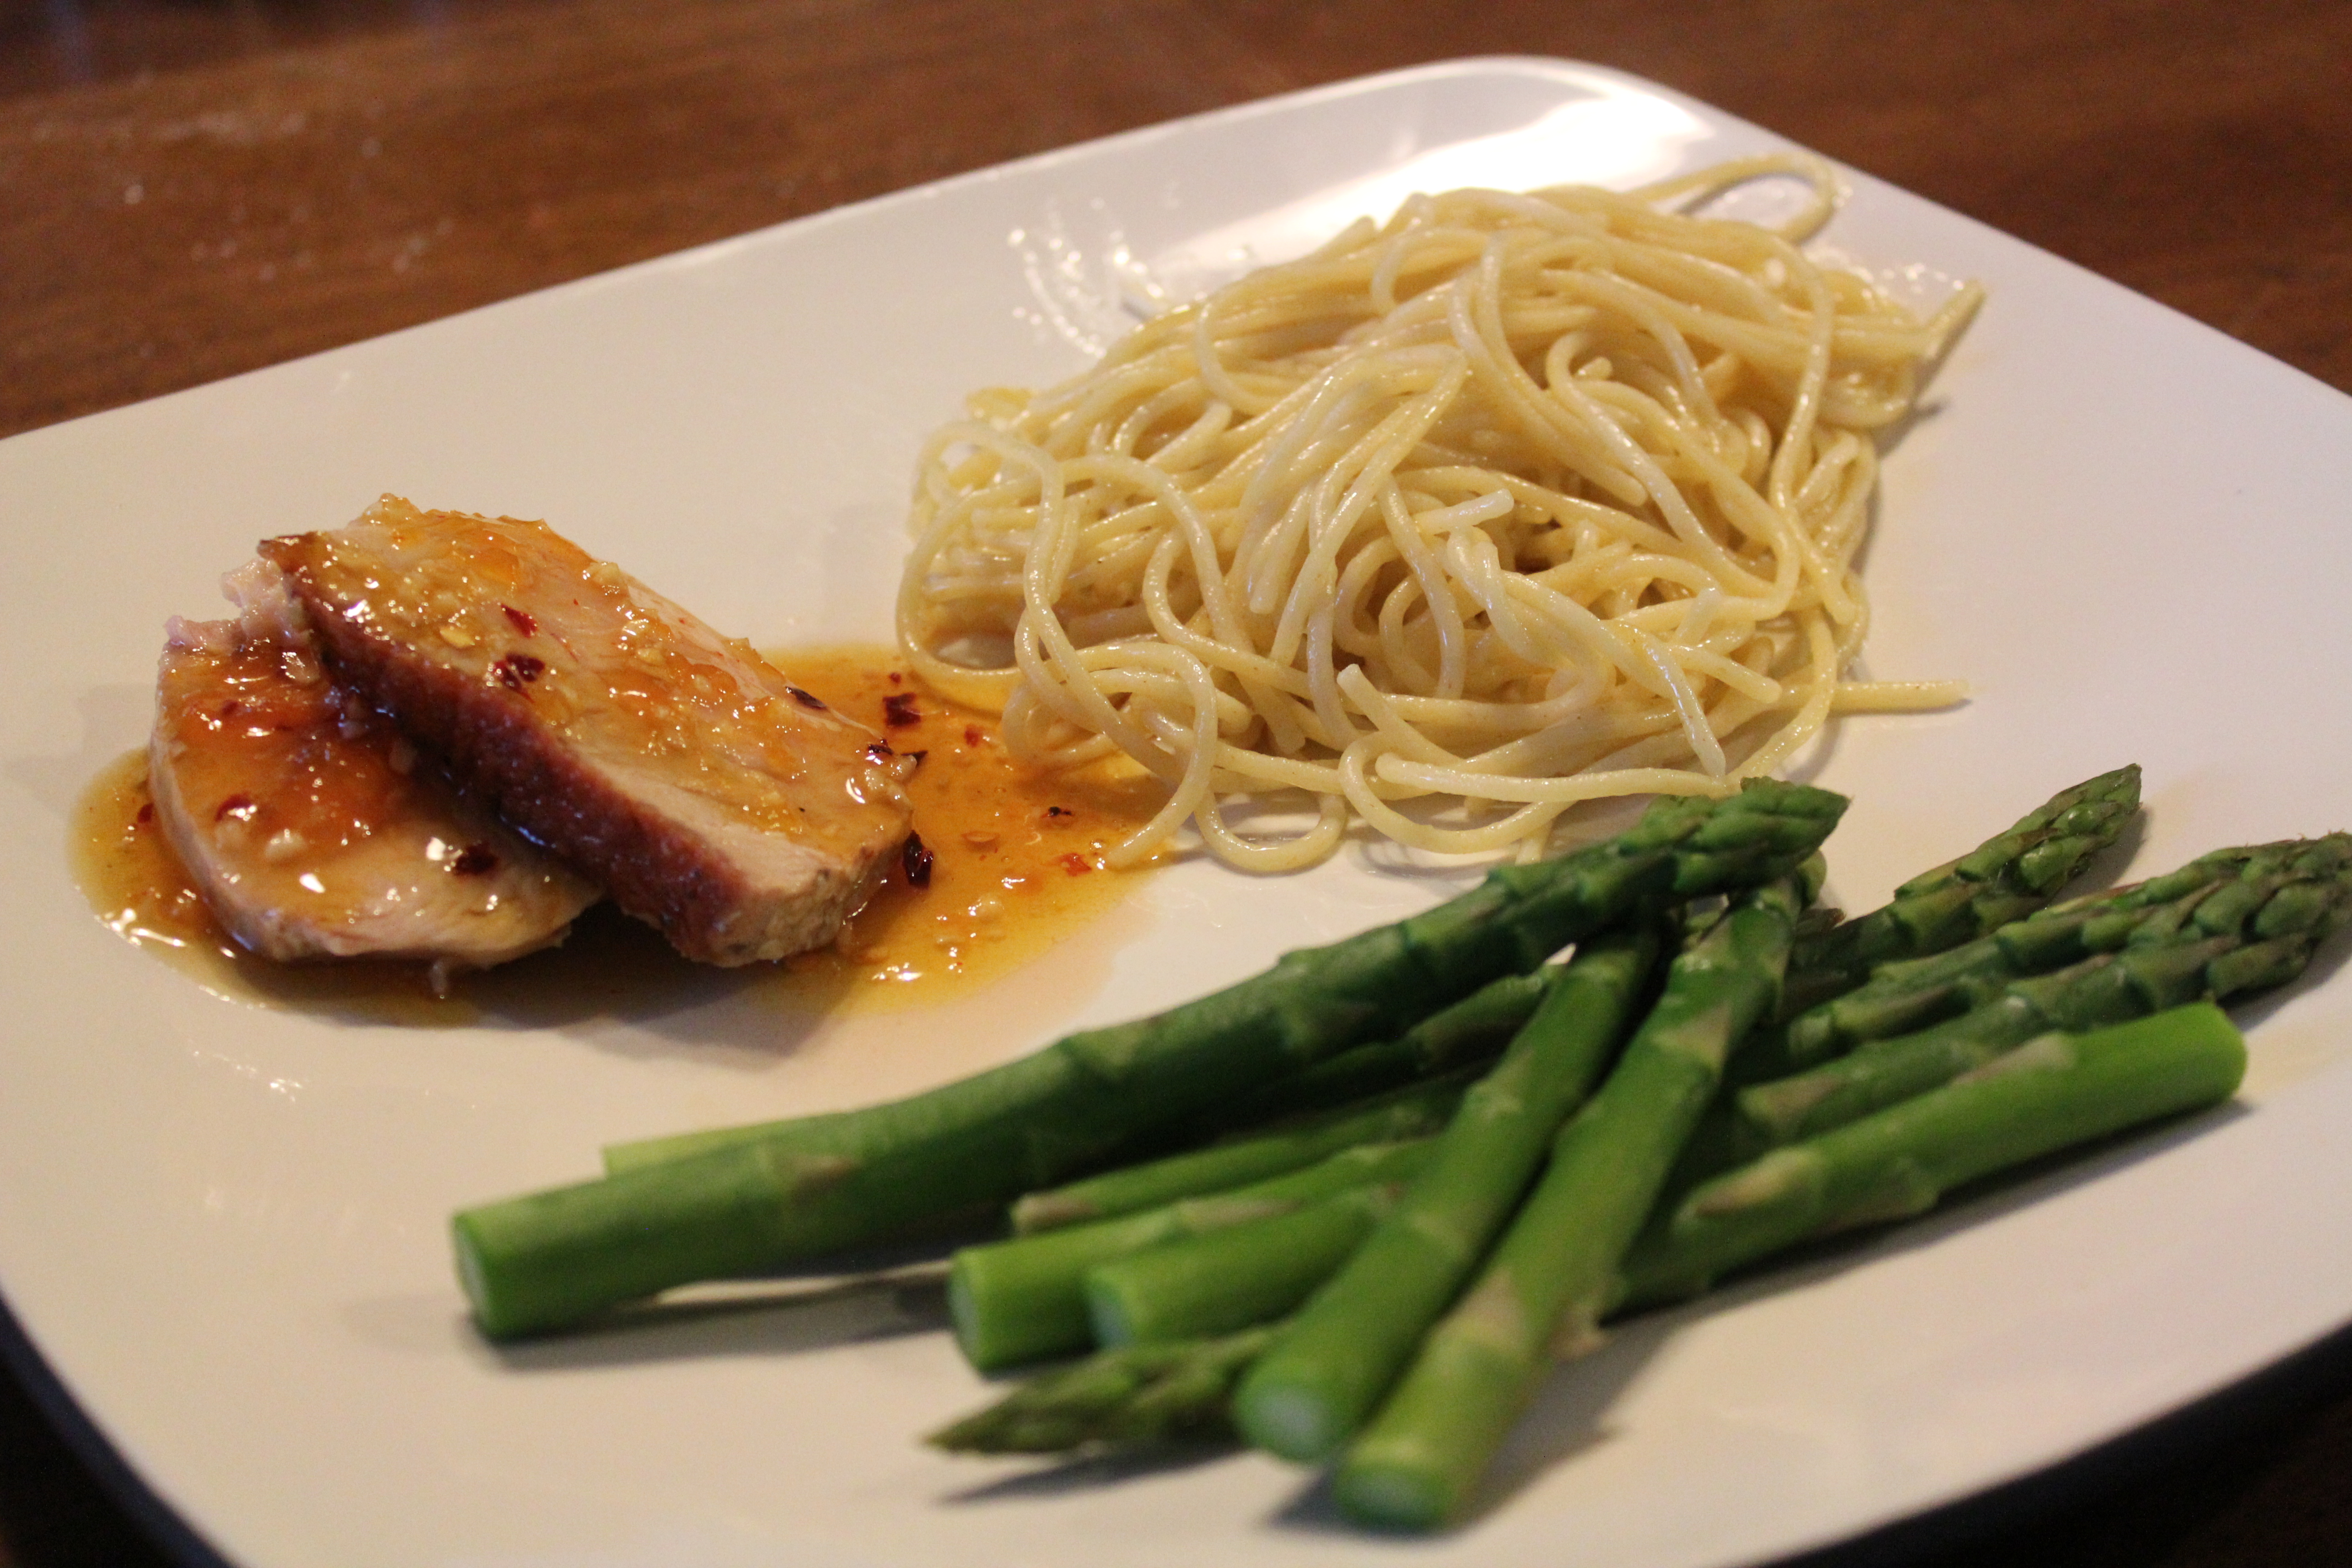
Now that my marathon has passed, I’ve been trying to be a little more mindful about what I’m eating. I’m still starving, but am trying to be careful to eat a little more balanced. I subscribe to Cooking Light magazine and while I don’t always love their recipes, I sometimes find a gem. This was definitely one of those… it was flavorful and Mike loved it! I’m not a huge fan of the tabbouleh… the consistency was a little chewy for my taste, but I might play around with different recipes using bulgur to see if that’s just how it is or it was just how it was prepared here.
Orange-Glazed Pork Tenderloin
Ingredients
1/3 cup orange marmalade
2 tablespoons rice vinegar
1 tablespoon lower-sodium soy sauce
1/2 teaspoon crushed red pepper
1 tablespoon peanut oil
1 (1-pound) pork tenderloin
1 1/4 cups fat-free, lower-sodium chicken broth
1/4 cup dried cranberries
1/4 teaspoon five-spice powder (I substituted cinnamon and ground ginger)
1/4 teaspoon salt
1 cup bulgur
2 tablespoons minced green onions
2 cups sugar snap peas
2 cups snow peas
Directions
Preheat oven to 350°.
Combine first 4 ingredients in a medium bowl, stirring with a whisk. Heat a large ovenproof skillet over medium-high heat. Add oil; swirl to coat. Add pork; cook 6 minutes, turning to brown on all sides. Brush pork with half of marmalade mixture. Place pan in oven; bake at 350° for 18 minutes or until a thermometer registers 145°, turning and basting with remaining marmalade after 10 minutes. Place pork on a cutting board; reserve sauce in pan. Let pork rest 5 minutes; cut into 12 slices.
While pork cooks, bring broth and next 3 ingredients (through salt) to a boil in a saucepan; stir in bulgur. Remove from heat; cover and let stand 15 minutes. Fluff with a fork. Stir in green onions.
Place 3 pork slices on each of 4 plates; top each serving with 2 tablespoons reserved sauce. Serve each with 3/4 cup bulgur mixture.
Snap Pea Sauté:
Heat a large skillet over medium-high heat. Add 1 tablespoon sesame oil; swirl to coat. Add 1 tablespoon minced peeled fresh ginger to the pan; cook 30 seconds, stirring constantly. Add 2 cups trimmed sugar snap peas and 2 cups tripped snow peas. Add 1 tablespoon rice vinegar and 1 1/2 teaspoons soy sauce to pan; cook 30 seconds.
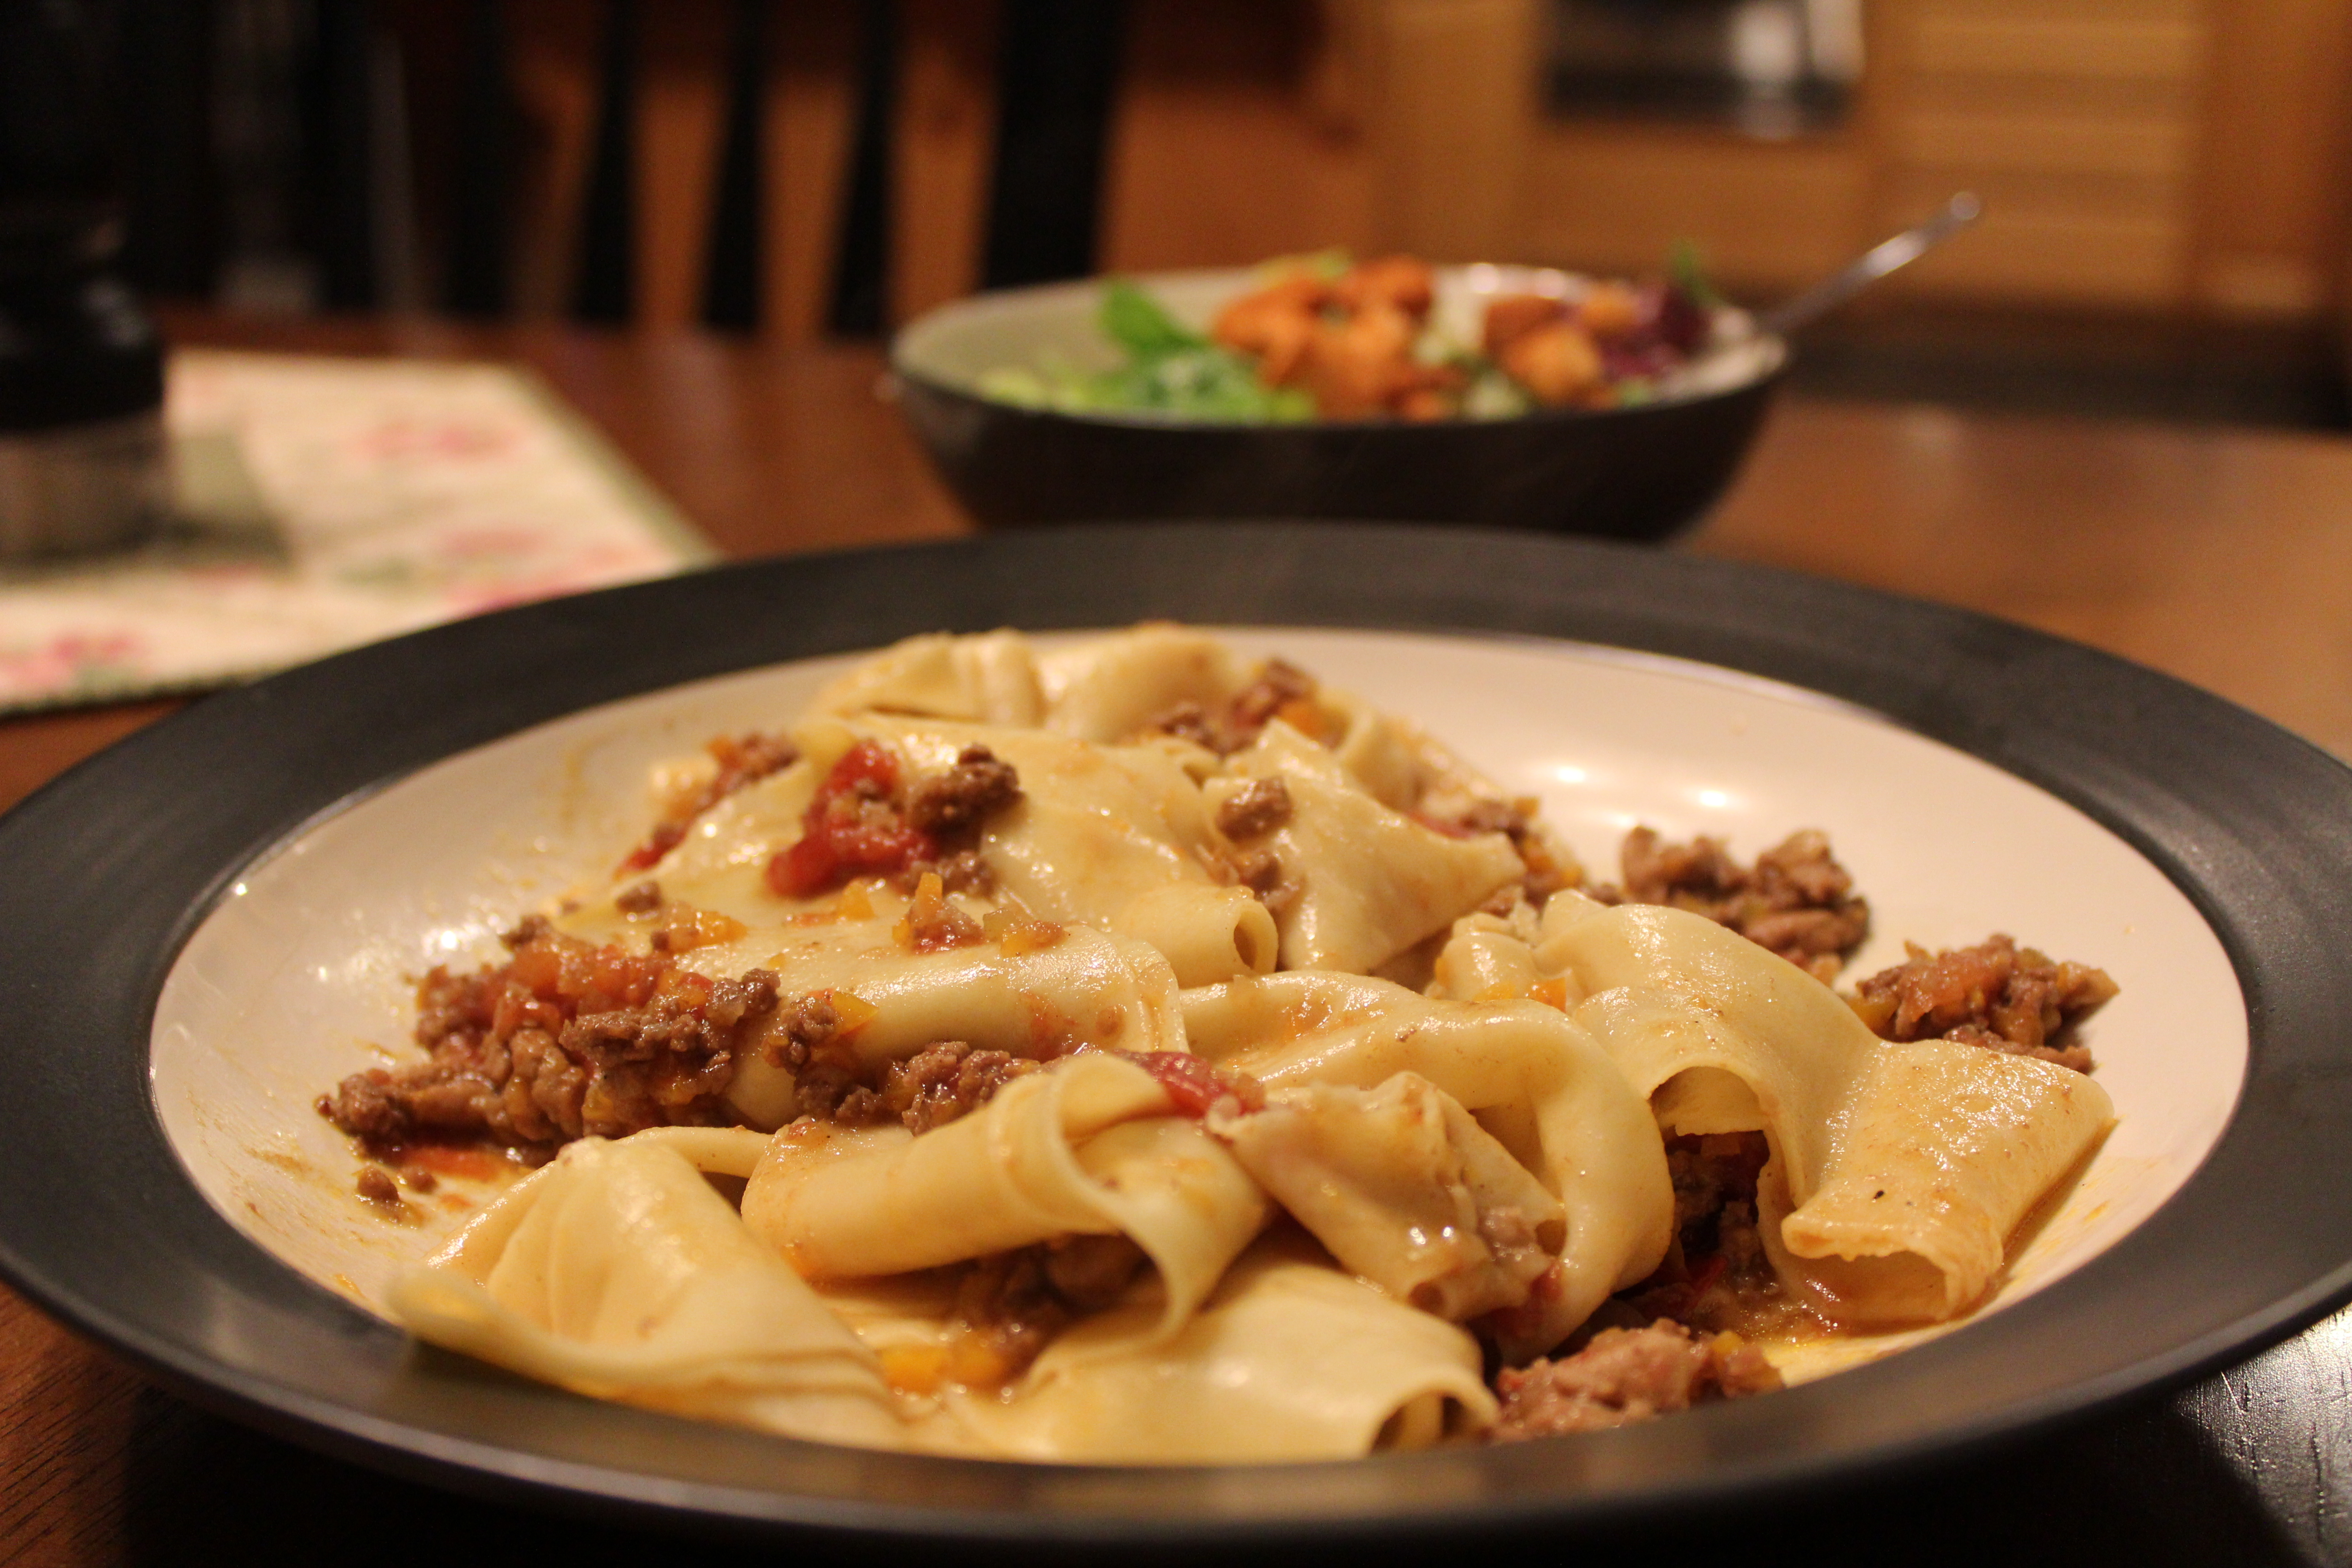
This is one of my favorite recipes – I’ve been making it for a while now and absolutely love it. The bummer is that it takes a long time… three to four hours from start to finish. It makes enough for Mike and I to have dinner and then another meal, so if you’re cooking it for a dinner party, you’ll want to double it.
The key to this meal is the soffritto – the mixture of carrot, onion, and celery. It makes the sauce taste amazing and the house smells awesome for hours after! It conjures up that “something’s cooking” smell that makes your stomach grumble!
I finally perfected the pasta – I made tagliatelle, which is a long, thin ribbon. It made all the difference – this tasted so gourmet!
Tagliatelle alla Bolognese
Ingredients
2 tablespoons unsalted butter
2 small carrots, chopped
1 celery stalk, chopped
1 yellow onion, chopped
2 ounces thick-cut pancetta, chopped
1/2 pound ground pork
1/2 pound ground beef chuck
1/2 cup dry red wine, such as Barbera
1 cup drained, chopped canned
Roma tomatoes (aka plum tomatoes)
1 tablespoon tomato paste
2 cups beef stock, plus more as needed
1 cup whole milk (I just use my fat-free milk, but I’m sure whole would be yummy)
Sea salt
Freshly ground pepper
1/8 teaspoon ground nutmeg
1 pound fresh egg pasta dough
Grated Parmigiano-Reggiano cheese
Directions
To make the Bolognese sauce, in a Dutch oven or other large, heavy pot over medium-low heat, melt the butter. Add the carrots, celery, onion and pancetta and cook, stirring occasionally, until the ingredients are tender and a rich golden brown, about 30 minutes. If the ingredients begin to brown too much, reduce the heat and stir in a spoonful or two of warm water.
Add the ground meats to the pot and stir well. Raise the heat to medium and cook, breaking up the meats with a wooden spoon, until lightly browned and crumbly and their juices have evaporated, about 20 minutes.
Add the wine and deglaze the pot, scraping up the browned bits from the pot bottom. Cook until the wine evaporates, about 2 minutes. Stir in the tomatoes, the tomato paste, the 2 cups stock, the milk, 1 teaspoon salt, 1/4 teaspoon pepper, and the nutmeg. Cook the mixture until it just begins to simmer, then reduce the heat to very low and continue to cook, stirring occasionally, for about 1 hour. If the sauce becomes too thick or threatens to scorch, add a little more stock.
Partially cover the pot and continue cooking the sauce on the lowest heat setting until it is thick and dark brown, 1 – 1 1/2 hours longer. When the sauce is ready, use a large spoon to skim off and discard any fat that floats on the surface. Cover the pan and set aside.
While the sauce is simmering, make the pasta dough, then divide and roll out each piece into a sheet 1/16 inch thick. Cut the pasta into tagliatelle and let dry for 10-20 minutes.
Bring a large pot three-fourths full of water to a rolling boil and add about 2 tablespoons salt. Add the tagliatelle, stir well, and cook, stirring occasionally, until al dente, 1 1/2 – 2 minutes.
While the pasta is cooking, reheat the sauce over medium-low heat. Taste and adjust the seasoning with salt, pepper and/or nutmeg.
When the tagliatelle is ready, scoop out and reserve about 2 ladlefuls of the cooking water, then drain the pasta. Add the drained pasta to the sauce in the pot and stir and toss until well coated with the sauce, adjusting the consistency with some of the cooking water if needed. Serve with fresh grated cheese.
Tonight I decided to try a new recipe for smothered pork chops. I’m not gonna lie, they were pretty darned delicious. And it’s a nice change to the general cooking of pork chops that actually keeps them juicy.
Smothered Pork Chops
Ingredients
4 center-cut bone-in pork loin chops
Kosher salt and fresh ground pepper
2 Tbsp. canola oil
2 Tbsp. butter
1 yellow onion, chopped
1 green pepper, seeded and diced
3 stalks celery, diced
5 cloves garlic, diced
1 tsp. fresh thyme, minced
3 Tbsp. flour
2 1/2 cups chicken broth
1/4 cup heavy creamhot pepper sauce, to tastesteamed rice
Instructions
Season the pork chops with salt and pepper. In a large frying pan, heat the oil over medium heat. Add the chips to the pan and cook until the undersides are browned, about 3 minutes. Turn and brown the second side, about 3 minutes more. Transfer to a plate.
Add the butter to the pan and reduce the heat to medium. When the butter has melted, add the onion, bell pepper, celery, and garlic, and stir with a wooden spoon to loosen any browned bits in the pan. Cover and cook, stirring occasionally, until the vegetables are tender, about 8 minutes. Stir in the thyme. Sprinkle in the flour and stir well. Gradually stir in the stock and bring to a simmer.
Return the pork chops to the pan and reduce the heat to medium-low. Cover and simmer until the pork shows no sign of pink when pierced, about 20 minutes. Transfer the chops to a plate. Stir the cream into the gravy in the pan and bring to a boil. Cook until thickened, about 1 minute. Season to taste with salt and hot pepper sauce. Pour the gravy over the pork and serve with steamed rice.
On a side note, my mom got Kati and I “garbage bowls” for Christmas. We were both a little shocked (I had never heard of one) and joked about it. I used it last night for popcorn and Mom said to call her when I used it for real. Well, I did. And I stand corrected. It really is the greatest thing since sliced bread. It has a non-stick bottom that keeps it from moving around and is way easier to throw everything into as you’re chopping (instead of the plastic bags from the store or running back and forth to the trash). It’s the perfect size and I love the color! Thanks Mom!!!!